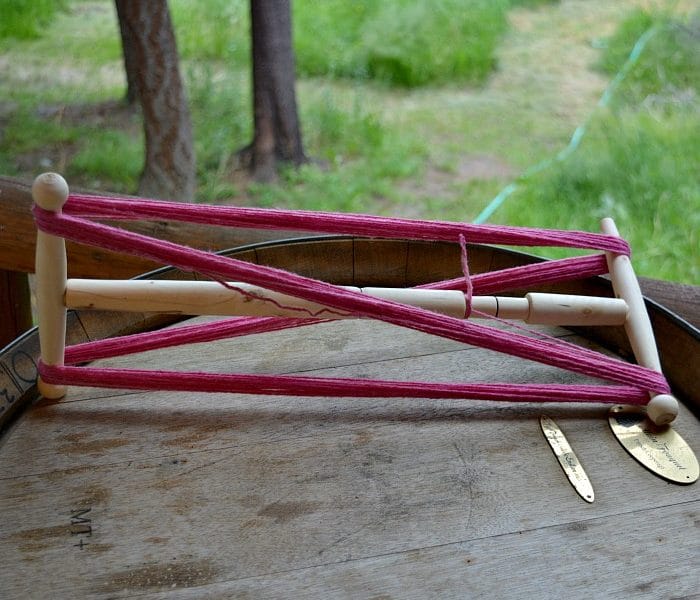
This is a tool for fiber artists who want to make skeins of yarn. The name “Niddy Noddy” comes from the motion needed to wrap the yarn into skeins. It is made of a central bar and two smaller bars on the end. Each skein winder has its own length of yarn that you wrap. Count the wraps of yarn and multiply by that Noddy’s length and that is the amount of yarn you have.
Design Considerations
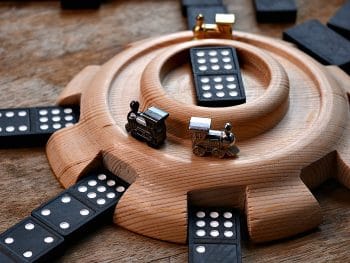
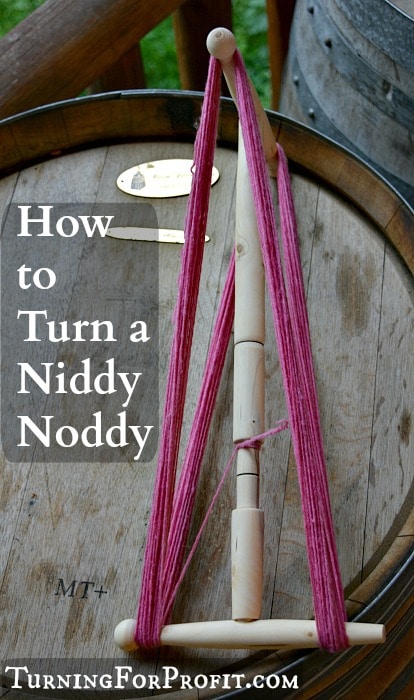
The central bar, for my Niddy Noddy, is 17” long. It needs to be fairly narrow so that the skein winder and yarn are not too heavy. I turned mine to under 1” in diameter. The top and bottom bars are 7” in length and slightly smaller in diameter than the central bar. You make the skein winder by attaching the three parts together like a wide but small “l—–l”. Then the top and bottom bars are rotated at 90 degrees. You wrap the yarn by placing the yarn over the ends of the top and bottom bars. This is clearer in the main image for this post and as you turn the parts.
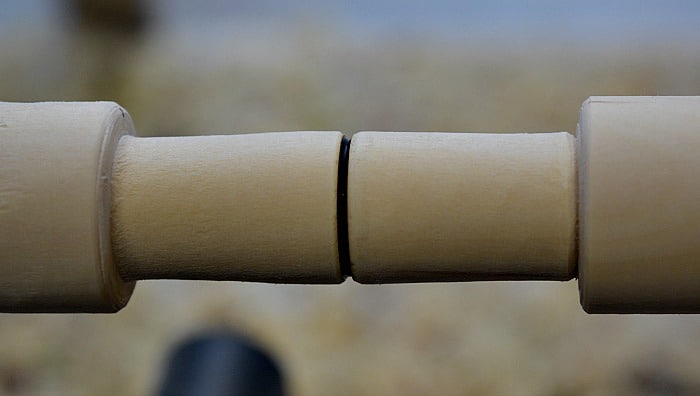
The central pole has two tenons ½” diameter and about 3/8” long. You will insert the tenons into holes in the top and bottom bars. When the skein of yarn is finished you will have to be able to slip the yarn off of the bars. Do not make the tenons too tight. The three ends of the bars have small beads to hold the yarn in place. The remaining end has a taper so that the yarn can be slid off easily.
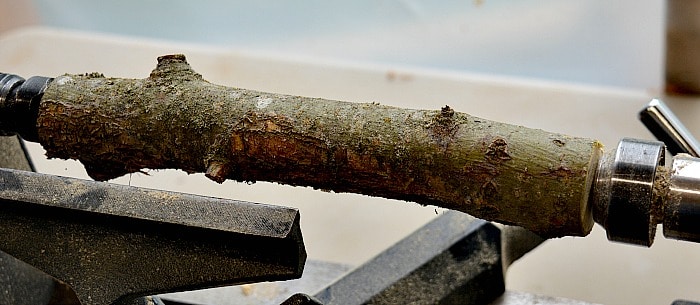
Turn all three bars for this project. Start with the two short bars. These should be about 8” or so in length. Set them up as a regular spindle project on your lathe.
Turning a skein winder
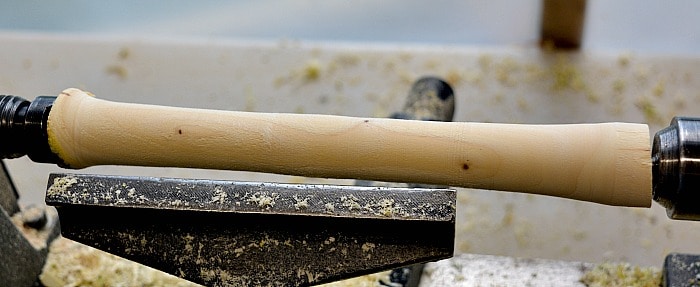
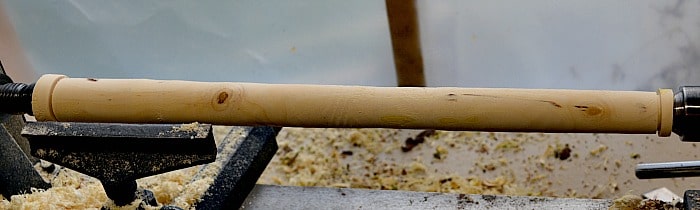
Start by turning them round. I had several side branches on this blank. Use your roughing gouge to carefully turn away the branches first. Make sure you are not hitting your tool rest with the blank when you turn it on. You can see how “thick” they will be as they are spinning. Where the image is solid shows the thickness of your turning. If you can see “through” the spindle as it turns, then you are turning through air and wood. All of that should be gone.
You can see that this branch is not perfectly straight. Where it is bowed you will be cutting wood and air until you get to the solid area in the middle. Don’t rush this process as it is really easy to catch the wood if you are pushing too hard. You can see that it is much thinner after it is turned round. For this project you need about an inch in diameter of solid wood.
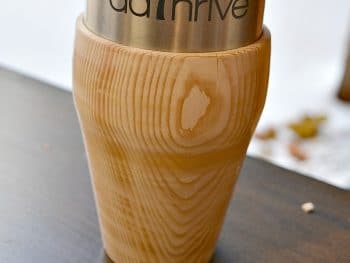
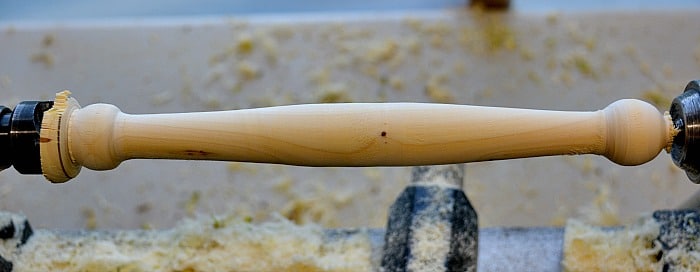
After you have shaped each bar take the time to sand it on the lathe. I used my regular sanding procedure on these bars. One of your bars will have two knobs, one on each end. The yarn will be wound on the niddy noddy just in front of the knobs.
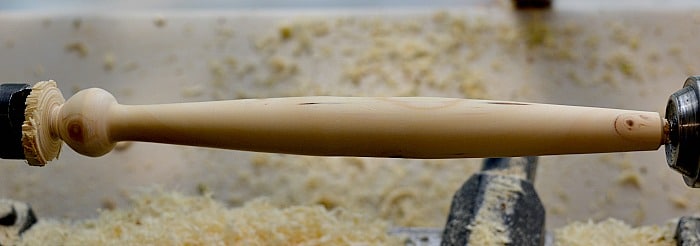
To remove the skein of yarn from the skein winder you make one end on one bar tapered. Most yarns will stretch and come off easily. However some yarn like silk and linen will not stretch much, if at all, so wind these yarns close to the end of the tapered section. Then you won’t break your niddy noddy trying to get the skein off.
Off Lathe Drill Work
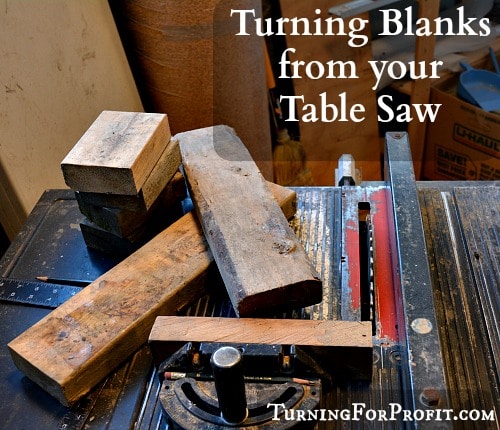
The two short bars need holes drilled into them. I made a jig by ripping a 45 degree cut in a scrap 2 x 4 piece of wood on my table saw. Position your ripping fence 1.75” away from the tip of saw blade. (Your blade angles away from your ripping fence.) Turn the wood around with the previous cut facing the top of your table saw and do a second rip. That will give you a secure place to hold the bars as you drill them.
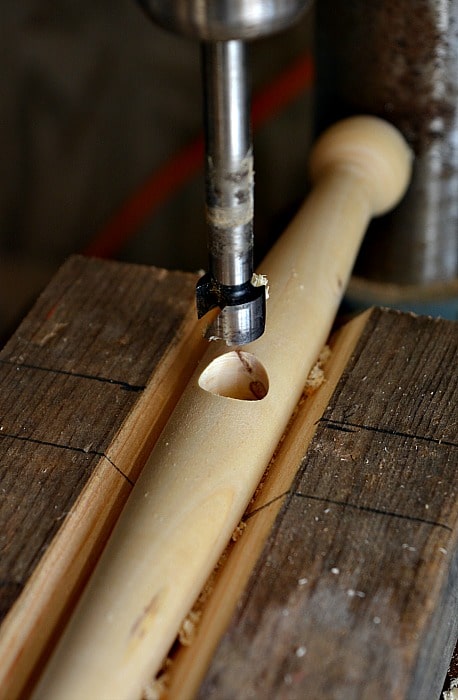
You could also drill with a hand drill, take care to be as perpendicular to the wood as you can. I used a ½” forstner drill bit for the holes. Drill in about half your diameter. You can use calipers to see how long you need to make the tenons on the central bar.
Center Bar
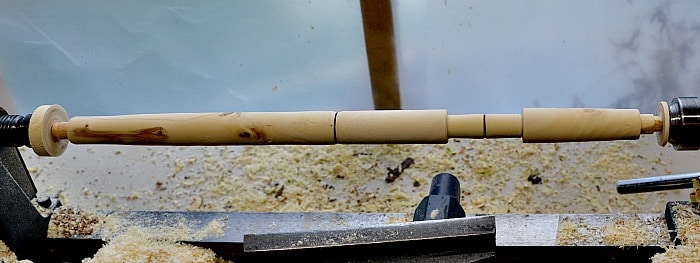
The center bar holds the other two bars and is where you hold the Niddy Noddy when you are winding on the yarn. You will have to form two tenons, one on each end that will fit into your other bars. Decoration and shaping are up to you. I would turn the center bar to 1” diameter or slightly less. This is the main weight of the skein winder and if it is too heavy it makes it harder to use.
The depth of my holes in the short bars was 0.4”. So that is how long the tenons are on my center bar. The thickness, or diameter, of the tenon is ½” to fit into the holes that are in the short bars.

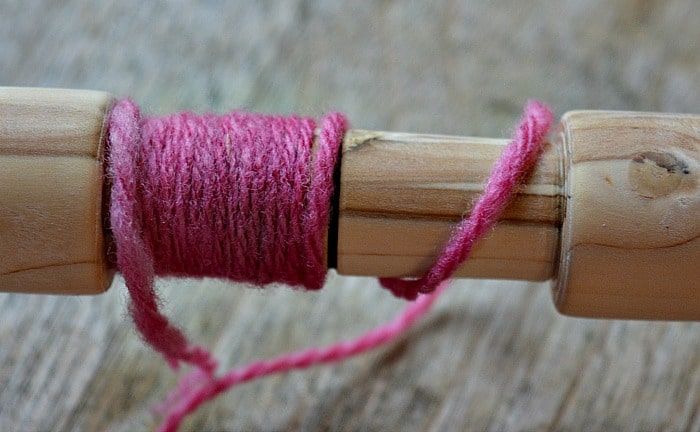
Adding a Sett Gauge
Since the Niddy Noddy is really handy for hand spinners I’ve added a Sett Gauge to the center bar. This area is 2” in total with a burn line at the half way or 1” mark.
When you have finished shaping and decorating your center bar then sand it just like you did the shorter bars. I have not added a finish to this project. The yarn will condition the wood and I don’t want any finish from the wood transferring to the yarn. Make sure you sand it well so that the yarn won’t catch on any rough spots.
Turning For Profit
Turning a Niddy Noddy is a fairly straight forward turning project. You do need to be accurate with the drilling of the top and bottom bars, and the tenons on the central bar. However it is a good project that will give great satisfaction to a hand spinner. The wood that I used for this project was from our apple trees so that will make it special as well. Other projects of interest to hand spinners would include a yarn ball winder, a diz, a sett gauge, a needle case, and a yarn bowl.
Please let me know how your Niddy Noddy turned out! What other turnings have you done for fiber artists? Leave a comment below. Thanks.
How to Use a Niddy Noddy
Assemble the three bars that you’ve turned. Position the short bars so that they are at right angles to each other. Tie the yarn that you are forming into a skein, to the center bar. Take the yarn to an end of one of the short bars. Turn the Niddy Noddy slightly and move the yarn down to the other short bar. Move back to the top and then down to the bottom one more time. Now coming back to the first bar you should be repeating yourself. Continue wrapping the yarn on the ends of the short bars until all of the yarn is on the Niddy Noddy. At this point take some short bits of yarn and tie the strands together.
Measure the length of one wrap of yarn. That is from one of the four contact points on the short bars, back to where you started. You should have gone up and down twice. Measure that piece of yarn. That is your yarn length for this specific Niddy Noddy. Multiply this length by the number of strands in your skein. That gives you the total yardage that you have.
How to use the Sett Gauge
This allows the spinner to wrap their yarn around the bar and determine how many wraps per inch is their yarn. This helps them determine the weight of the yarn they have spun and how to knit or weave with the yarn as well. You can make a smaller version of a Sett Gauge which is easier to use.