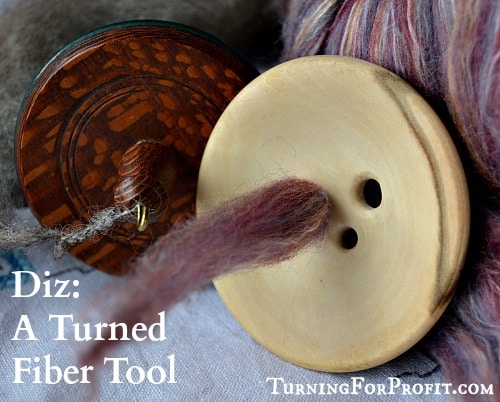
Turned wood and fiber are a natural combination. Think of the turnings on a spinning wheel, from legs to spokes, to supports for the flyer. Wood and spinning, kind of makes sense as they are both fibers after all. There are lots of fiber tools that you can turn. One of the simplest is called a Diz.
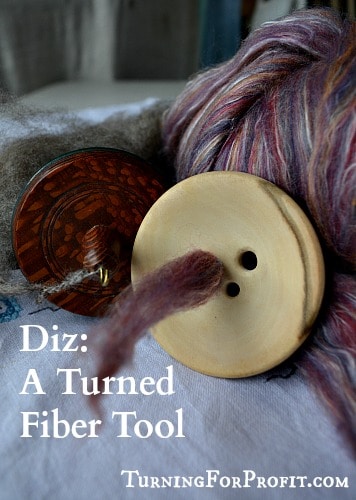
A diz takes prepared fiber and makes it into a long uniform roving so that it is ready for spinning. You don’t need to explain its purpose. If a spinner is looking for a diz then they know what it does and how to use it!
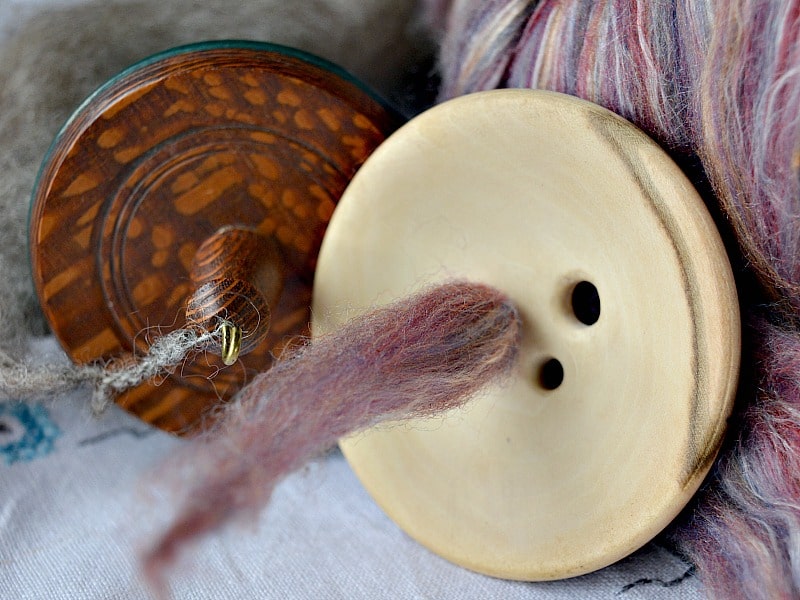
To make a wooden diz we are going to turn a round piece of wood that is slightly dish shaped. In the center, we will add the holes for the fiber to go through. It will need to be well sanded and smooth so the fiber doesn’t catch in the holes or on the tool. The advantage of turning a diz, rather than using a credit card or metal washers, is that you can make the diz a size that is nice to hold in the hands. Credit cards can bend and washers are very tiny to hold. Your wooden diz will be perfect and a pleasure to use.
Turning a Wooden Diz
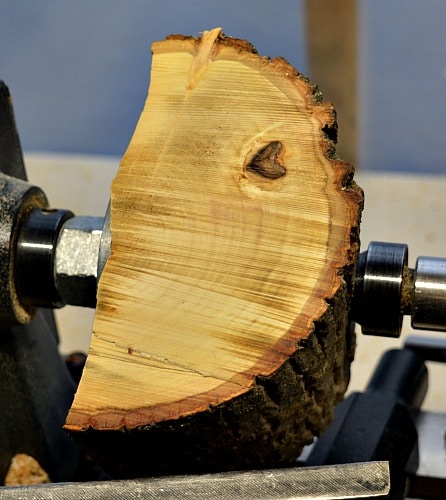
To give the diz strength to pull the fibers through you need to turn it like a bowl; the grain of the wood in the blank needs to be oriented at right angles to your lathe. You can make several from one blank just make sure you don’t hit the screws holding the wood to the face plate.
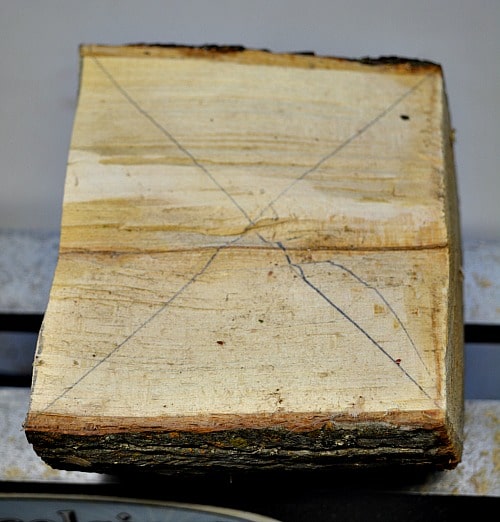
Find the center of your blank
For this project, I took a piece of linden and flattened the inside surface to attach the face plate to. With a ruler and pencil mark from corner to corner to find your center point.
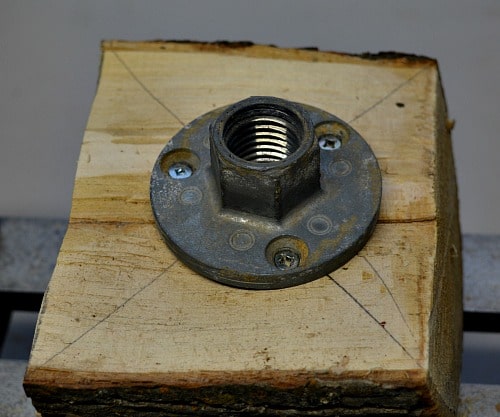
Attach the face plate to the turning blank
Position the face plate over the center mark, the intersection of the two lines. Do not line up the wood screws along the grain or your wood might split while you are turning. This will be more tricky with a four hole face plate rather than a three hole plate like the one I’m using.
Mount the blank on your lathe
Place the face plate onto the drive shaft of your lathe. Make sure there is clearance with the bed of your lathe and your tool rest. Even with small turning blanks bring your tail stock up for additional support.
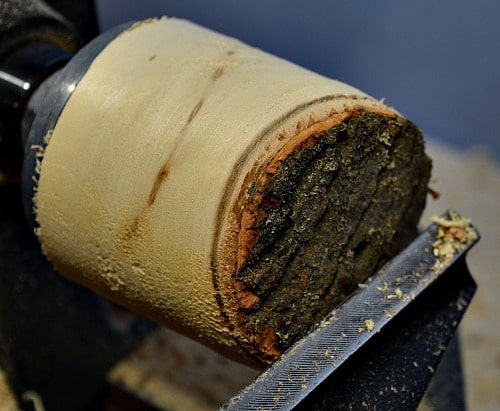
Turn the blank round
At this point turn the blank round, using your bowl gouge, and slightly larger than the finished diameter of your diz. I was aiming for 3″ in diameter and the finished diz is just under that size. I was aiming for a size that was easy to hold and use. There is no precise size for this tool so turn a diameter that looks good to you.
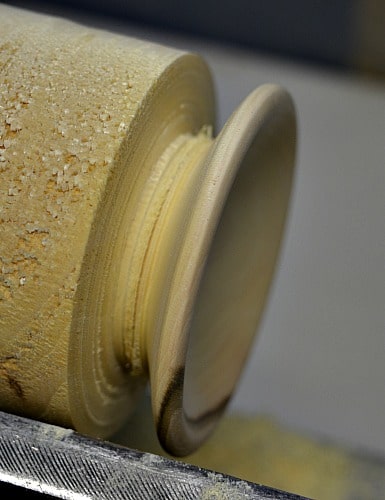
Turn the front of your cylinder
When you have your turning blank round, remove the tail stock and position your tool rest in front of your turning blank.
Use a small bowl gouge to dish out the face of your diz. At this point, you can shape the edge as well taking light cuts with your gouge.
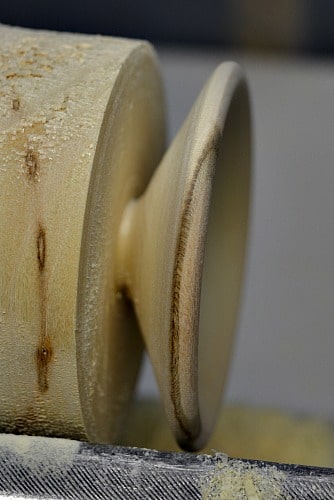
Turn the back of your diz
This is the trickiest part of the turning. As you have shaped the interior of the diz you want the back to match the same shape. I use a parting tool to create access for the bowl gouge. Measure the depth of your turning and add on the thickness you want. Mark this line on your turning blank. Use your parting tool on the left of the line to make sure you miss the bottom of your turning.
When you are about halfway through on the back, stop and sand/finish the turning. (Here is more on my sanding process.) Sand through to your finest grit remembering to wipe the turning off between each size of sandpaper. Finish the front of the turning at this time as well. You want to sand partway down the back as the outside edge of your turning will be held in a jam chuck later on and you won’t be able to sand right up to the edge.
Get ready to part off the lathe
The shape will narrow as you approach the center. I used a narrow parting tool to help shape the last portion of the turning. You don’t have to be perfect at this point as you will flip the diz and use a chuck to allow you to finish the back off really nicely. Use your parting tool to remove the turning from the lathe.
Finish the back with a jam chuck
You can use a simple jam chuck and create an opening to hold the turning in. In my case, I used a 4 jaw chuck with a paper towel to protect the turning.
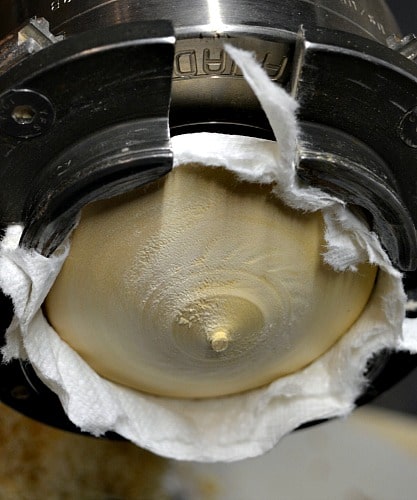
This lets you finish the other side of your turning. You only need to sand and finish the area that you could not reach before.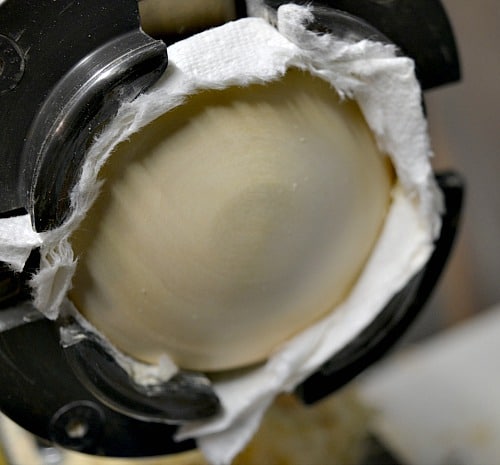
Drilling the holes
I drilled three holes into the Diz. Just to confuse things I use imperial drill bits but the basic sizes I was after were 3mm, 5mm, and 7mm. This corresponds to 1/8”, 13/64, and 9/32. Use a sharp carving knife or gouge to smooth out the wood where the drill bit breaks through. Then fold your sandpaper on one corner so you can twist it into the holes and make everything smooth.
Using the Diz
Taking the prepared roving pull, or thread, some of the fiber through the hole size you want to use. Once the fiber starts coming through it will continue. The end result is a long roving ready for spinning. This article on how to use a hackle (another spinning tool) has more information on using a diz as well.
Other Turning Projects
You can turn lots of projects for fiber artists. Here are a few that are ready to go:
- Yarn Ball Winder – ready to make a ball out of any type of yarn
- Sett Gauge – a little tool to measure the grist of the yarn being used or spun
- Shawl Pins – keeps the shawl on your shoulders and shows off the fibers and the wood
- Needle Case – keeping pins and needles in a safe place
- Knitting Nancy – for the young knitter, a great way to start
Wood and fiber go together so well. Just remember that if the wood is coming in contact with the fiber it needs to be smooth. You might have to go a step or two beyond your normal sanding practice. This could be a new product line if you have connections in the spinning, knitting, and fiber world.
Turning For Profit
If you have any questions about turning or the business of turning, please leave me a comment at the bottom of the page.
These posts are for you, the woodturner. If you like these turning projects or articles related to the business of turning then please sign up for the Turning For Profit newsletter. Generally, it comes out once a week and has links to the current articles, a bit on what I am up to, and usually a question for your response. You can sign up on the right sidebar or just a little lower on the page.
I love woodturning and sharing with you. You can follow me on Facebook as well. Thank you for joining me on this woodturning journey. Have fun and remember to turn safely.


Hi Robin
As you do several projects for fiber arts customers I thought you might be interested in the Dodec spinning wheel. It is a woodworking but not a lathe project. I made one for my daughter a few years ago, she hasn’t used it much but she has many interests. This is a very simple, low cost, spindle type wheel (no flyer) There is a forum for this wheel on Ravelry, , and here is a link to the free plans. https://docs.google.com/file/d/0B6D_i4-AKeQ5a2JGRVRGYmFEbmM/edit
Thank you for the link to the spinning wheel plans. Interesting idea and could be adapted to some lathe work!