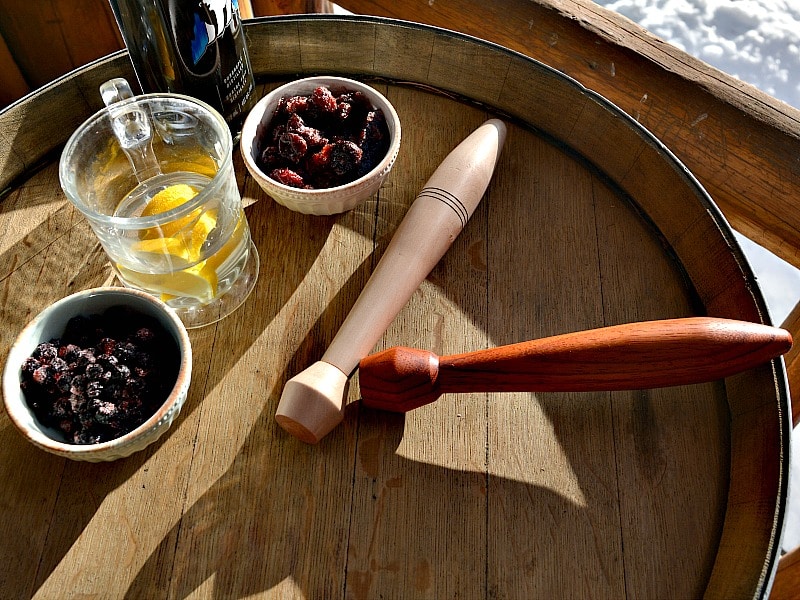
Woodturning projects can have funny names. You can turn a garden dibbler, a spile, or a spurtle. Now you can turn a muddler. What is a muddler? It is used for muddling the flavors of fruits and herbs in alcohol and is a straight forward woodturning project.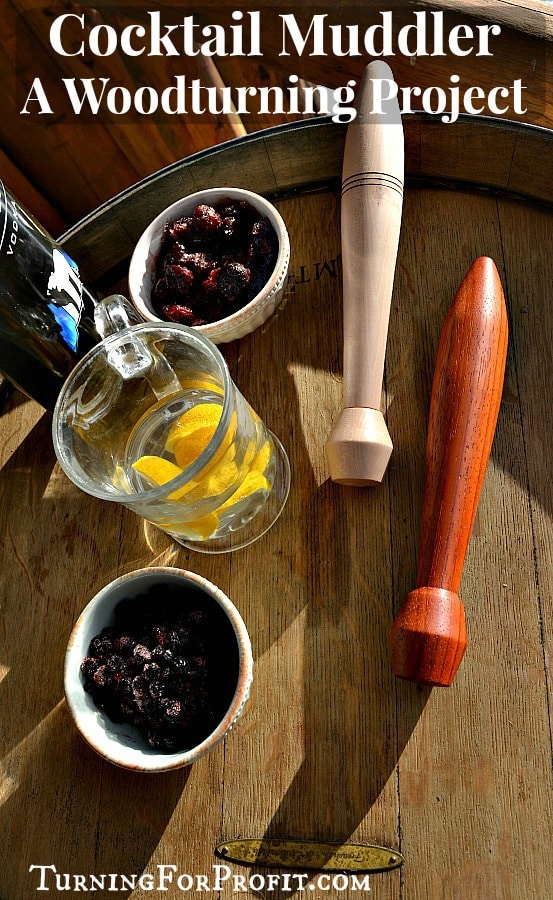
Design Considerations for a Muddler
The purpose of a muddler is to crush fruit or herbs in order to mix the flavors together with alcohol. To be useful it should reach the bottom of a jar, mixing glass, or drinking glass. So you need a small diameter but a moderate length so that your fingers are not hitting the edge of your mixing container. While some commercial muddlers have raised points on the end most wooden ones have a convex shape so that the bottom can be rolled over the fruit crushing it into the glass.
I used Paduak and Dogwood for these muddlers. Choose woods that will not impart a flavor to the drinks that are being mixed. So stay away from oily woods and woods that might be toxic. As this is a working tool use a food safe polish rather than shellac or a finish that will come off of the wood and move into the beverage.
I am not a bartender so here is how to use a muddler and some of the drinks you can make. As I understand, the goal is to crush the fruit or leaves so that the flavor is released without tearing it into small pieces or shredding it. This applies to herbs like mint that look better whole rather than a bunch of small green bits that can stick to your teeth.
There are lots of different shapes that can be used from basically a straight dowel to something a bit fancier like what I’ll show you here. A quick search through Google images or Pinterest will give you lots of design ideas.
Turning process for making a muddler
You want a straight grained spindle for this project. It should be about 8 to 12 inches in length and probably 1 1/2” in diameter. You will want to make a rounded end to press the fruit and herbs with. Decoration, like burn lines, can be added farther up the handle but I would keep the working portion simple and easy to clean.
Put your blank on the lathe.
Make sure your spindle is secure between head stock and tail stock. The tool rest should be centered or at the position you are comfortable turning with. Use your Spindle Roughing Gouge to turn the blank round. My Padauk blank was turned round earlier and then set aside. Now we are ready to go.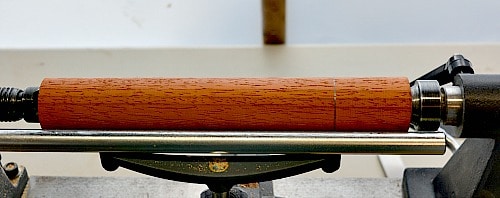
Mark the dimensions on the turning blank
I removed the old pencil marks and then added new ones to help me define the shape of the muddler. Marking the blank, even though the lines will be removed will give you an idea of the shape of the head, the length of the handle, and how you want to flow between key features.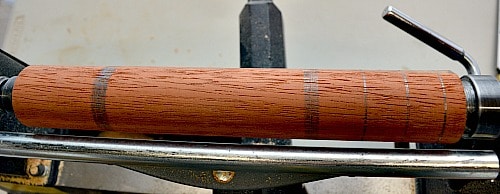
Shaping the head of the muddler
I wanted the head / working portion of the muddler to be symmetrical. So my first step was to measure out the center line and then part down the outside to a common diameter. I turned it down to just over an inch.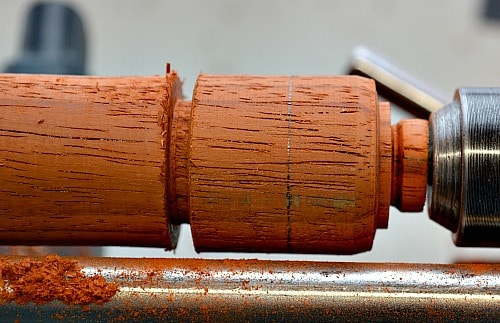
Now I have the greatest diameter at the center and I work in each direction to achieve a straight line down to my parted diameters.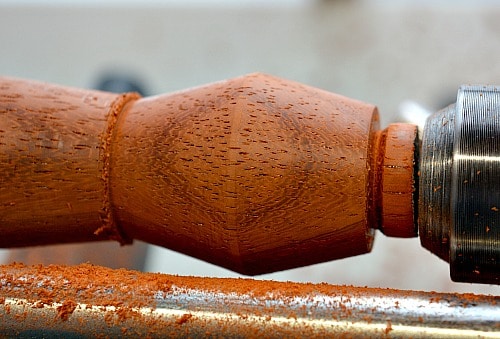
Shape the handle of the Muddler
Now that I know where the head is ending I can transition in a smooth curve to make the handle. The bulge in the handle (1 1/2″ in diameter) is towards the top end. It feels good in the hand. However if you are making them for sale you might want a bartender or two to give you feedback on the best shape and design of the handle. I wanted a nice round end on the top as well.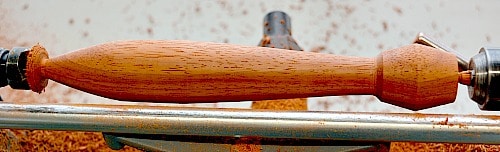
Shape the head of the Muddler
Just about ready to part the muddler off of the lathe. This image shows the head end. I made it slightly convex (bulging out) so that it would crush the fruit and herbs. I also removed as much wood as I felt comfortable with but would still support that end of the spindle. There is not much there to remove with a sharp knife and then sand smooth.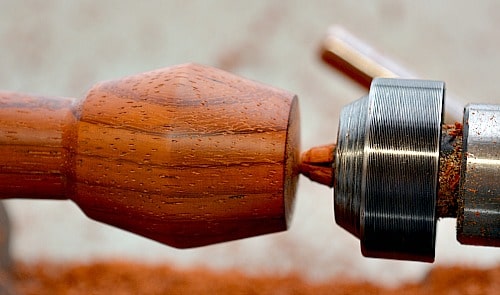
This is the second muddler and it was turned from Dogwood. I turned it in the opposite orientation in order to get a good thickness for the handle. The wood at the head end was thinner. The burn lines were added at the request of my wife. Always listen to your customers!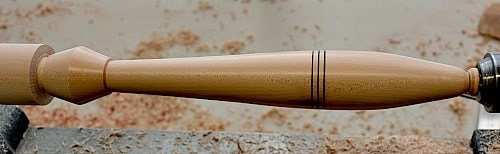
Sand and finish
Before you part off from the lathe, sand and finish your muddler. I use my normal sanding technique and sanded from 220 to 800 grit. Remember to wipe your turning down with a soft cloth or paper towel every time you change your grit size. I used a wood polish to complete the process.
Part the muddler from the lathe
Your last step is to part the muddler from the lathe. You can see how small the wood is supporting the turning at the tail stock in the above image. Now move to the head stock and part the turning from the lathe. Use a sharp knife or gouge to remove the nub and then sand and finish like you did the body of the muddler.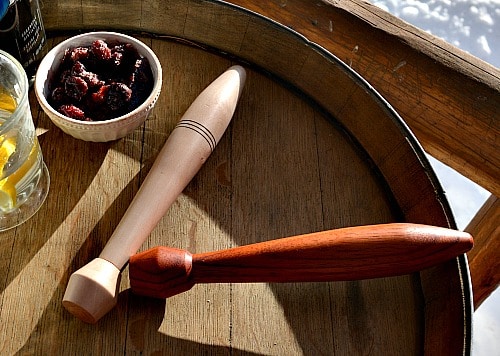
So that is how to turn a muddler. This tool is also useful for making fresh fruit iced drinks and vitamin drinks as well. I would recommend drying it off after each use and it should last a good long time. This could be used as a smaller version of a Kraut Pounder when you are using jars that the Kraut Pounder won’t fit into.
Turning For Profit
If you have any questions about turning a muddler please leave me a comment at the bottom of the page. Similar turning projects would include a fish bonker, ball winder and a garden dibbler. These vary in size and are great spindle projects.
I love wood turning and sharing with you. Thank you for letting me join you on your woodturning journey. Have fun and remember to always turn safely.


 Parting Tool – More versatile than you thought
Wondering if pure beeswax would work as a friction polish / finish?
Do you have any particular reason for the ‘girdle’ around the head of the muddler? It seems to me that that’s going to keep the bottom (crushing part) from reaching the edges of the bottom of the glass.
Hi Greg,
No particular reason. When you are muddling a drink you are crushing the ingredients in the drink so it is not the same as trying to crush something to powder. Feel free to adjust the head to suit your own particular tastes. Thank you for your comment.