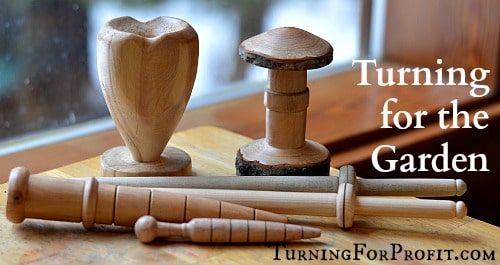
When winter is almost over, and the sap begins to run, it is the time to tap the trees and make syrup. I always thought that you needed a lot of equipment and stuff. True the boiling down of the syrup needs fire, a big pot, and a shed to keep out the wind. But do you know what you need to tap into the trees? You need a spile.
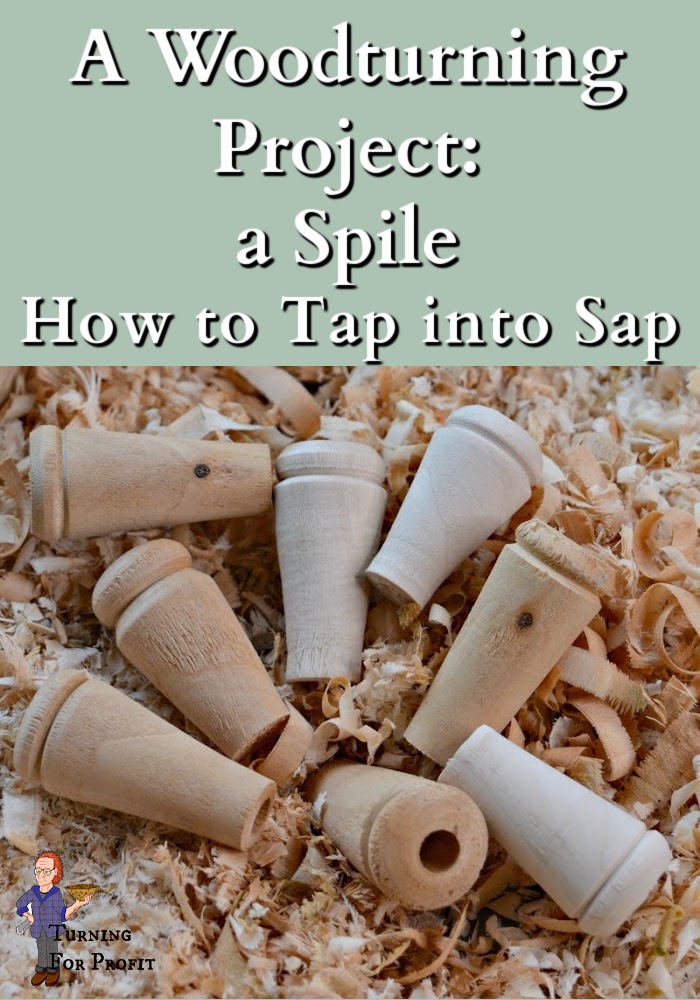
What is a spile? A spile is a small device that is inserted into a hole that is drilled into a tree that you want to get the sap from. This project shows you how to turn two spiles. One has a hole and the other does not. This makes it easy. The one with the hole lets the syrup out while the solid one is a plug for the tree when you are done.
The design of the spile
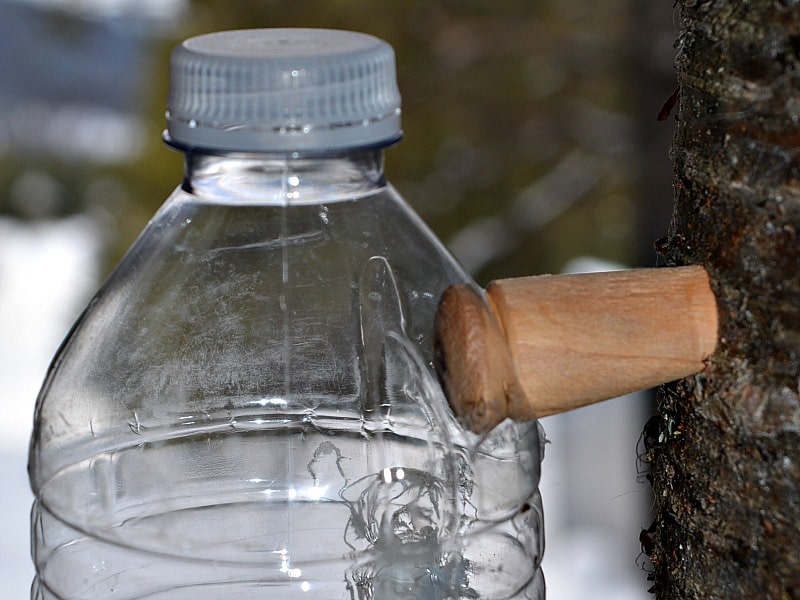
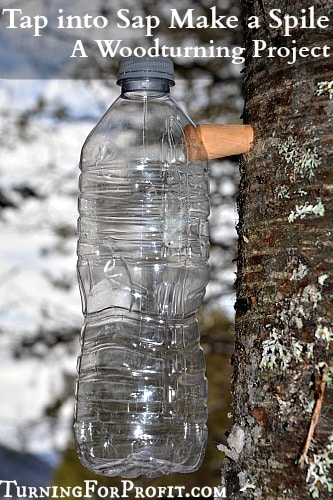
A spile is tapped with a mallet into a shallow hole drilled into a maple or birch tree. In this case, there will be a 1/2″ hole in the tree so the small end of the spile needs to be 1/2” in diameter. The outside part is turned to 3/4″ diameter so that a 3/4″ hole drilled in a small plastic bottle will fit snugly over the spile and allow you to capture the sap.
How to turn a spile
Sometimes you just need a small project. Like the day that I was working on a honey dipper. I start with the dipping end because sometimes the parting tool catches the dipper. Well, that is what happened here. That is not the normal end on a honey dipper and the blank is off-center. At this point, I was wondering about changing the shape of the dipper but decided to make a set of spiles instead.
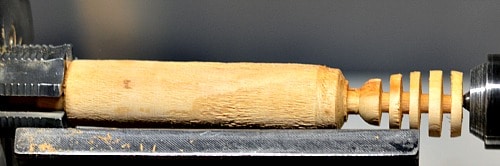
Each spile is 1 1/2” and I can make two out of this blank. So I centered the blank in my chuck.
Then I marked off the blank to show where the parting tool will cut the wood. Even if you turn the markings away immediately it is good practice to mark the design of the project on the wood. It gives you a feel for how the project will look and be turned on the lathe.
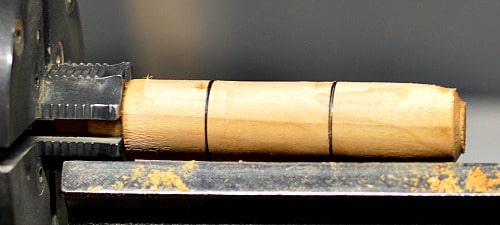
Use a parting tool to measure off the length of each spile at 1 1/2″. Turn the diameter down to 1/2″. This will fit into the hole that is bored into the tree.

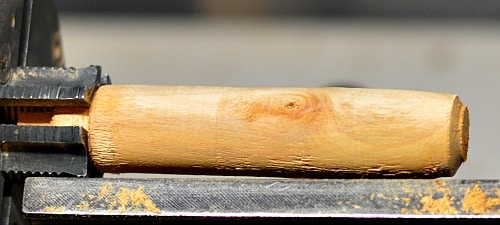
This is the easy part, turn the right side of the spile to just over 3/4”. This will make a snug fit for the plastic bottle. Shape a bead with a slight indentation at the top of the spile. Then taper from there down to the small diameter of the spile. You can use either a spindle gouge or a skew chisel at this point.
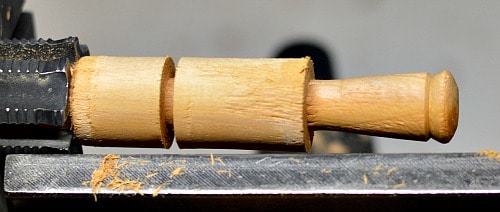
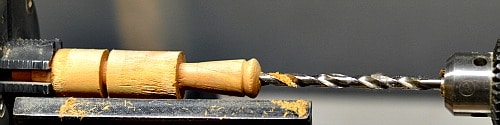
Drill a 1/4″ hole through the spile. Using a collet chuck in the tail stock insert a 1/4″ drill bit into the chuck, turn the lathe on, and advance the quill so the drill enters the spile and drills the hole. Since these are so small you could hold them with your hand and drill the hole freehand. Make sure the hole goes completely through your spile.
Repeat the process with the second spile. Don’t drill through this one. You will always make your spiles in pairs.

The spiles do not need a finish. I would use 120 or 220 grit sandpaper if you want to smooth it a bit but it isn’t necessary with this project.
Use the spile with the hole first as this allows the sap to leave the tree and be captured in your bottle. The hole that you drill in the tree could be an opening for infection. That is why you turn a second spile without a hole. When you remove your tap from the tree then you tap the second one in and leave it in the tree. The tree will actually grow around it and won’t get a wound.
How to use a spile
When the winter weather is above zero during the day and below zero at night then the sap will be running and that is when you want to tap the trees.
Pick out a good-sized plastic bottle with a lid. You want a lid to keep the insects out of your sap. Use a hand drill (electric or hand-powered) to drill a 3/4″ hole in the top of the bottle just before the top begins. This hole will hang the bottle over your spile.
Head out into the woods looking for maple or other sap producing deciduous trees. When you find a good tree, about 7” or thicker, then you are ready. With a hand drill (or the battery-operated drill) drill a short hole into the cambium layer of the tree. Do not drill in at a right angle to the trunk. You want the sap to run out through the spile so angle the handle of your drill lower than the bit so there is a slight slope to the hole.
Once the hole is drilled place a spile (one with a hole) into the hole and use a mallet to tap it in tight. Then place the plastic bottle over the end of the spile to catch the sap. A full-sized birch tree can produce a gallon of sap a day so make sure your bottle is large enough. In Canada, a 2-liter pop bottle would work.
For more information on collecting sap and making birch syrup, you can get more information from this post, No maple trees? How to make birch syrup. You can actually tap into quite a few deciduous trees in the spring as listed in the article.
To make this whole process even easier for you, download this four-page resource guide. It will give you a listing of the different trees you can tap. Basic instructions and references to both this post and how to make birch syrup, and additional pages to record your adventure in making syrup from tree sap.
Turning For Profit
If you have any questions about turning or the business of turning, please leave me a comment at the bottom of the page.
These posts are for you, the woodturner. If you like turning projects or articles related to the business of turning then please sign up for the Turning For Profit newsletter. Generally, it comes out once a week and has links to the current articles, a bit on what I am up to, and usually a question for your response. You can sign up on the right sidebar or just a little lower on the page.
I love woodturning and sharing with you. You can follow me on Facebook as well. Thank you for joining me on this woodturning journey. Have fun and remember to turn safely.


Hello, I’ve just discovered your web site. Very nice and especially informative. I don’t have the tools or ability to make my own “spile” oops I may have mis-spelled it. For the sap recovery. I have very nice Birch, maple tree’s and others. Do you sell these spiles? If so please email me your inventory, its early spring and I am very exicited to learn this precious art. I have to admit that after I were able to recover the sap. I am starting from ground zero and would need much needed education on how to process and make these incredible cocktails and medicinal natural medicine’s. Thank you, your response would be awesome . Have a blessed day.
Hi Dean, great question. No tools and no lathe! Go out and find branches that are about 1/2″ to 1″ in diameter. You can use a hand drill to drill the 1/4″ hole. Cut the branch into lengths about 1 1/2″ to 2″ in length. Take a sharp knife and whittle yourself some spiles! You can do it. Follow the link in the post for more information on making birch syrup! Have fun.