Mini-Lathe Review:
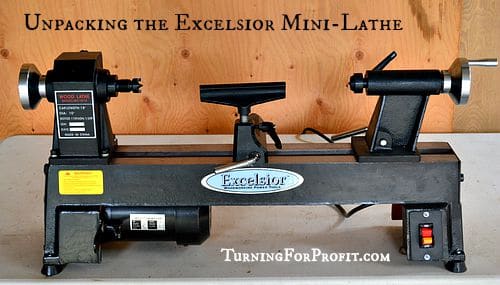
The box had seen better days. What was inside mattered, my new mini-lathe. It felt like Christmas. I couldn’t wait to get home and unwrap my new toy.
Mini-Lathe Review Out-of-the-Box
Buying a lathe, any lathe, on-line, is a bit nerve wracking. While the price was low you still want a good product and no problems. The Amazon reviews indicated that shipping damage was occasionally a problem with the Rockler Excelsior but that Rockler, if notified, worked hard to rectify the problems. It took nine days for the lathe to arrive and the box looked very beat up. To help you out I videoed my opening of the box and checking out the Excelsior Mini-Lathe.
Mini-Lathe Review Performance
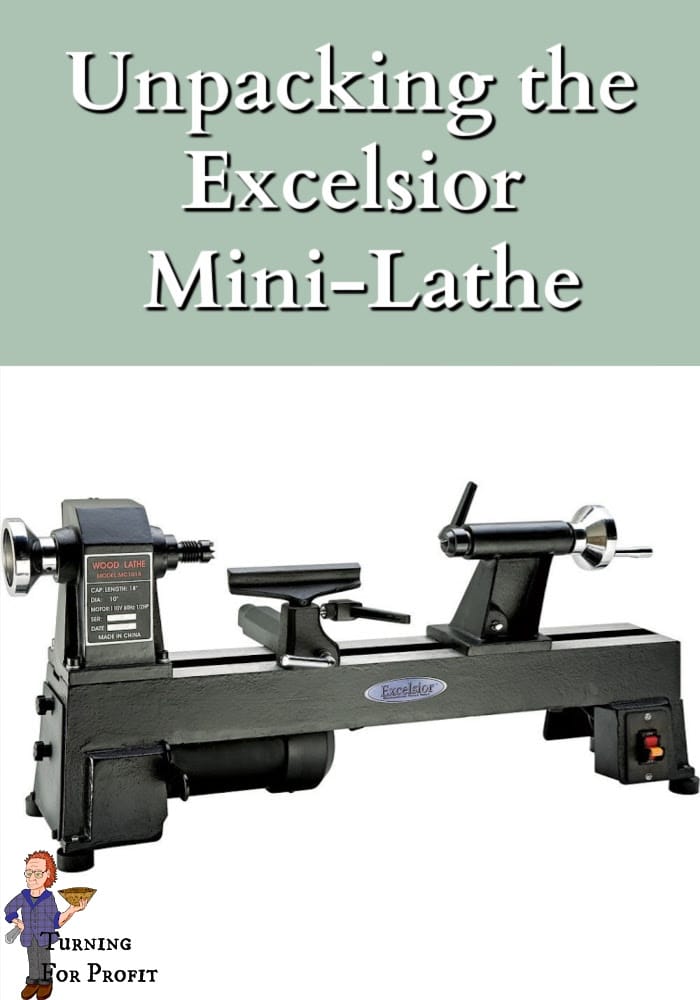
Late July I posted on what to look for in a mini-lathe. Well, Rockler had a sale on its Excelsior Mini-Lathe, the features were very similar for all of the lathes that I looked at in July, the Excelsior was compatible with my full sized Delta lathe, so price was a factor in my choice.
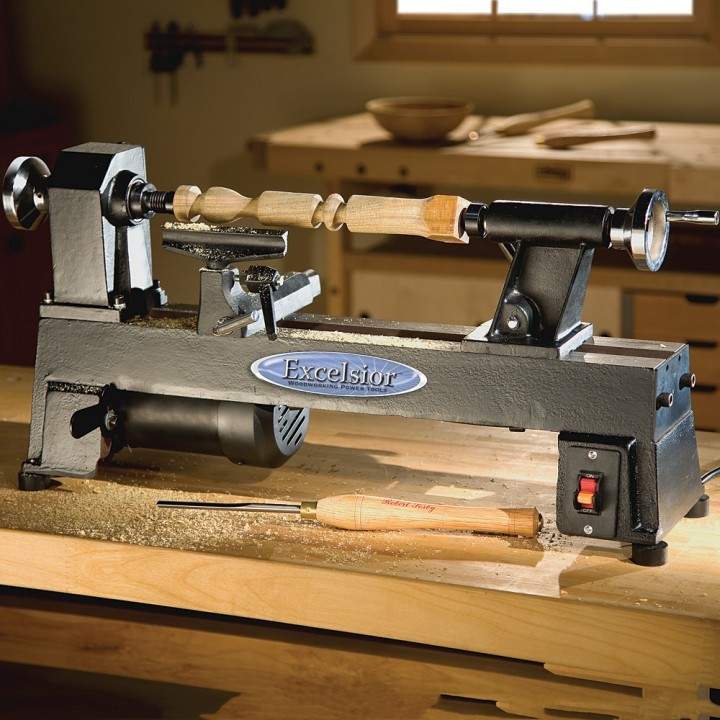
So far I have placed the lathe on a temporary portable table. I expected the vibration to be an issue, but the lathe runs very smoothly on all speeds. I want to build a specific base to support the lathe. The working size for the lathe is one foot by two and a half feet. I can turn spindles up to 17” long and bowls just under 10” in diameter.
Using the lathe on the table has worked very well. The height could be a little bit higher but it is suitable for turning. The cast iron bed sitting on rubber feet is very solid and doesn’t slide around. The tool rest is easy to use and adjust.
There are slight differences between my full size lathe and the mini-lathe. The locking lever on the tail stock is behind the lathe so I’m getting used to that. The turn off switch is on the right and that is a change from my full sized lathe where it is on the left.
The biggest change is having to move the drive belt every time I want to change the speed of the turning. The covers to access the drive pulley and the motor pulley are on the back and side of the lathe. To make removal easier I removed the locking screw and put rare earth magnets on the covers.
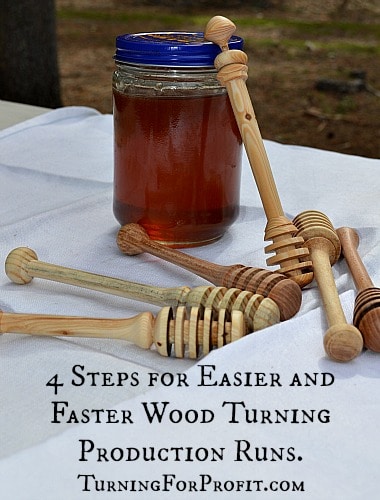
I have used a One-Way four jaw chuck without problems on the lathe. So far I have turned a nostepinne, small cherry bowl, a spinning top, and 5 honey dippers. These are smaller projects and have not worked the mini-lathe hard at all. I am able to turn a very smooth surface indicating that there is very little vibration taking place.
3 minor adjustments that I had to make to the lathe were as follows:
- Initial evaluation of lathe alignment (bring the tail stock to the head stock and compare the points on the live center and drive spur – see maintaining your lathe) was that it did not quite meet.
Solution: I seated the drive spur in the head stock with a little force and the same with the live center. They each moved slightly and then the alignment was spot on. Keep the shafts of the drive spur and live center clean and clean out the morse tapers occasionally as well. - Locking lever on tail stock did not lock in place but could be turned all the way around. This allowed the tail stock to move on the lathe when you were setting the blank in place.
Solution: removed the tail stock off of the lathe and tightened the NyLoc washer on the bottom. This allowed the locking lever to be completely tight and reduced vibration. - During the first turning there was a ticking sound from the lathe. It changed depending on which speed the lathe was set for.
Solution: I used the small Allen Key provided with the lathe to tighten the spindle pulley and the ticking sound stopped.
Mini-Lathe Review Conclusion
So far this Mini Lathe is doing everything I would expect. I am able to utilize all of the equipment easily and without frustration. The turnings are coming off smooth and easy to sand and finish. I am looking forward to building a custom base for the lathe and moving it inside the house so I can keep on turning when the weather turns cold.


Thanks for this unboxing video! I just unboxed my excelsior and I can’t figure something out. Both the points that go into the headstock and tailstock are loose, to the point that I can spin them around with my fingers. I’d expect the headstock one to be tightened down somehow so the motor can drive it. Am I missing something?
Thanks for your comment Rob. The drive spur (head stock) and the live center (tail stock) should both have a snug fit from the morse taper(MT). If they are completely loose then you might have ones that fit an MT #1 rather than a MT #2. I don’t know the dimensions of the tapers but that is where I would start looking.