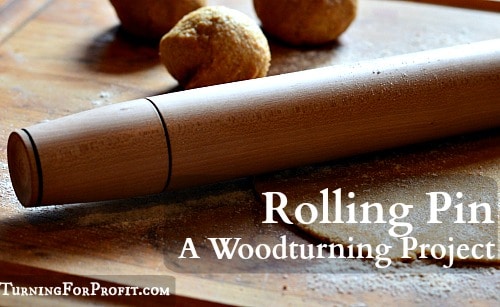
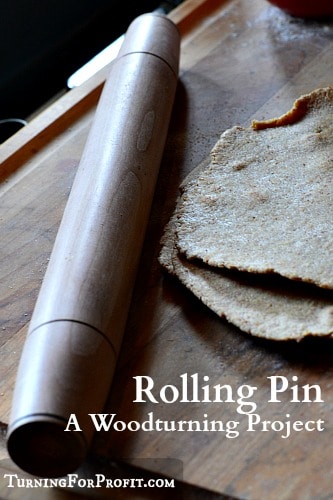
Wood makes beautiful utensils for the kitchen. They are lovely to look at, to hold, and to use. Made out of a hardwood, the rolling pin will be both beautiful and useful. These rolling pins are a French style of rolling pin where you use the pin by rolling it with your hands rather than having handles that turn within the rolling pin.
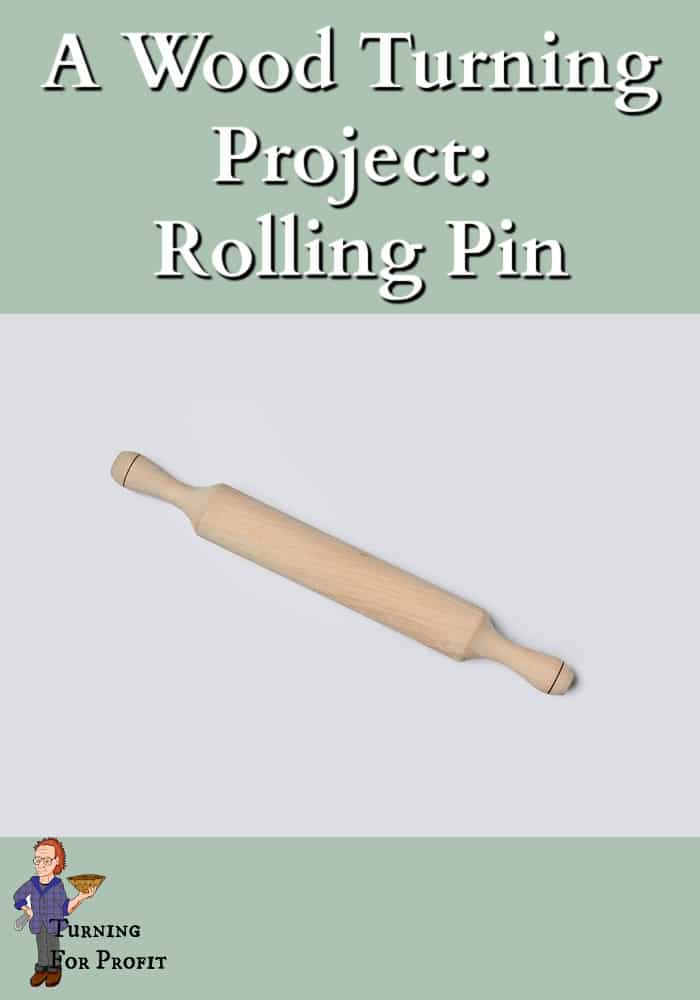
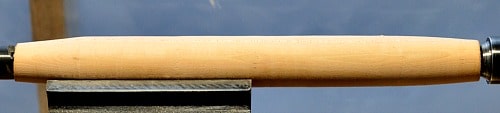
A wooden rolling pin is a good beginner turning project. This project will teach you how to use your roughing gouge and your skew chisel. The dimensions are not critical. The rolling pin I turned for this project is 13” long and 1 1/2″ in diameter. The straight section is 9” long and the handles taper to 1 3/8” in diameter. Try a few different lengths and diameters to see what people are looking for.
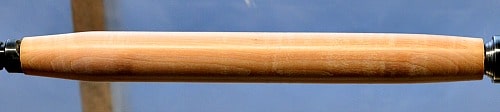
A quick internet search for rolling pin will show you plenty of styles and shapes. So be creative and see what you can come up with. The second rolling pin I turned was about the same length but I tapered the end down to 3/4″ and about 3” in length for the taper so the middle portion is about 8”.
A rolling pin is a kitchen utensil so make sure that the wood you are using is food safe and not toxic. If you are going to add a finish to your pin it needs to be food safe as well. I would make the rolling pin out of a hardwood species. The closer grain will make the wood a bit heavier and less likely to be affected by rolling out baking. Soft woods like pine and fir can be dented very easily.
Rolling Pin Turning Process
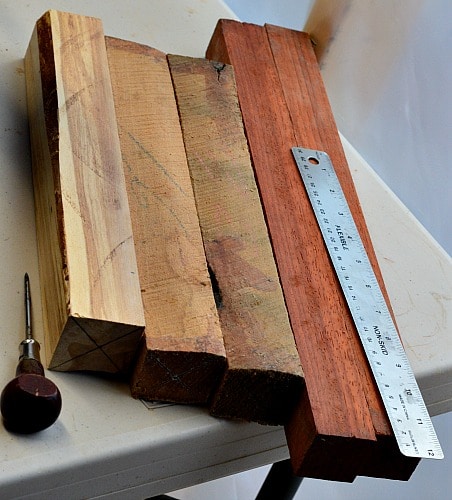
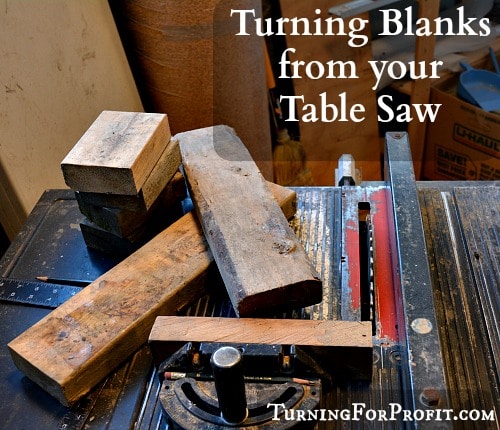
Preparation of blank
I found 5 pieces of square stock that I thought might work. Two of the shorter ones are dogwood. This is a good close grained and quite a heavy wood. The other short one is birch and the two longer ones are Paduk. The long ones will be smaller in diameter.
Turning blank round
Mark the ends of the wood by drawing two diagonal lines from corner to corner. Use an awl to make a hole at the intersection. Mount your wood on your lathe between your drive center in the head stock and your live center in your tail stock.
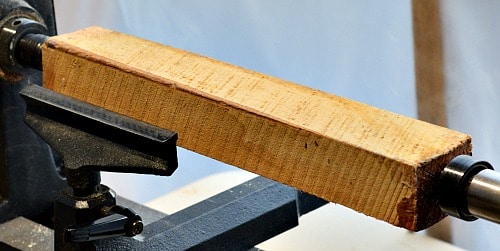
As I am turning the rolling pin on my mini-lathe I will have to move the tool rest three times to smooth out the blank. The roughing gouge is used here to quickly remove stock. Practice using the gouge in both directions. Here’s the end at the head stock being turned round.

Now the tail stock end is turned.

Finally the entire blank is turned round. The rolling pin does not need to be perfect at this point. Since I wanted the largest diameter I could get from the blank I stopped before the blank was completely round. You can see the flat strip on the blank.
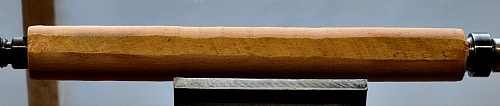
The skew chisel is needed to make the rolling pin nice and smooth. By not turning the blank completely round I can finish turning with the skew chisel and remove any rough spots at the same time.
Marking and design choices on the Rolling Pin
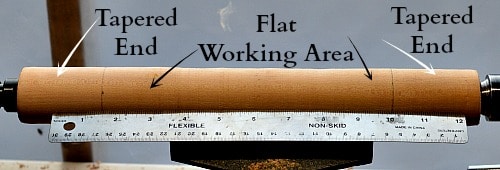
With the blank smooth and round I can plan how I am going to complete the rolling pin. I will have two tapered handles and a smooth, straight, working section in the middle.
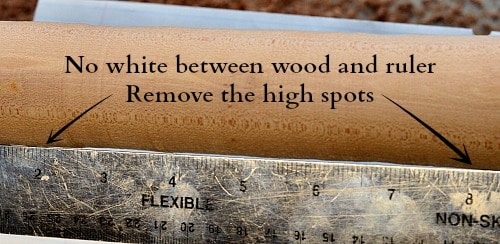
To make the middle section nice and flat to roll out beautiful pastry I used a straight edge. I put the straight edge up against the rolling pin. Putting white paper on the lathe bed I looked down on my turning and the ruler. If I can see white then these are the low spots that I am turning to. The high spots are where the wood touches the ruler.
Shaping the tapered handles
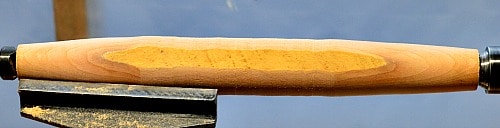
Using the skew chisel and angling the tool rest you now shape the tapers on each end of the rolling pin. The flat section on the rolling pin indicates that I have more work to make the center part round.
Shaping the Center section
Use the skew chisel to turn the working area of the rolling pin smooth and flat. A straight edge identifies where the high spots are. Once you are really close use your fingers to detect any slight imperfections.
The skew chisel left a very smooth finish on the blank. So I started with a higher grit of sandpaper than I normally would have. I smoothed the entire rolling pin with 320 grit sand paper. Then I checked again with my fingers and took very light cuts with the skew chisel to smooth out the rolling pin.
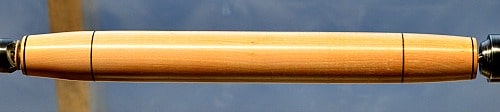
At this point I added a few burned lines as decoration. Take the point of the skew chisel and make a small V-groove where you want the burn line. Then use wire to friction burn the mark on the wood.

I finished sanding the rolling pin by going through 400, 600, and 800 grit sandpaper. Remember to wipe with a soft cloth between each grit. I finished with a food safe polish.
To remove from the lathe use a parting tool to reduce the size of the wood at the head and tail stock. You will have to finish the ends of the rolling pin with a small knife or carving gouge. Don’t forget to sand progressively through the grits as well.
Production options
A turned rolling pin is a fairly straight forward project. Don’t rush getting the rolling pin smooth with the skew chisel. If you do get a catch you’ll have a lot of wood to remove to make the pin smooth again. The key to a good rolling pin is the smoothness of the rolling section of the pin. This is dependent on your skew chisel work and sanding. Take your time and you will get a great result.
Marketing / Business implications
This style of rolling pin is different than what I grew up with in Canada. Different people will be used to different styles of rolling pins. You might want to turn a few and see what comment you receive from your customers. That internet search for rolling pin images will show you a very wide variety of shapes and sizes. You may need to adjust if you different ethnic groups in your area.
While the production time might not be as long as some turning projects there is a level of skill required to produce a good rolling pin. This is worth extra in the eyes of your customers. Consider the value of what you are giving them in addition to the turning process you used. Setting prices can be a challenge.
A rolling pin could be a step up in a collection of turnings focused on the kitchen. Consider the overall strategy of your prices and products when you are selling your wares.
I hope you enjoyed this project and have turned out some rolling pins of your own. I would love to see pictures of what you turned. If you like these wood turning projects you can sign up for my email newsletter. You will receive weekly notifications of new posts on my web site and any wood turning deals that I discover. You can also follow me on Facebook and Pinterest as well.
I’ll be back soon with another turning project.


[…] this post I have turned a rolling pin. My last cuts on the pin were made very lightly with a skew chisel. This gives me a very good […]