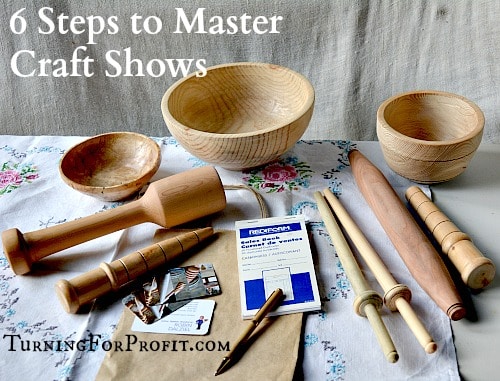
Trade Show – Checklist
I just got back from a trade show in Vancouver. I wasn’t selling my turnings nor was I in charge of the booth. I was helping out.
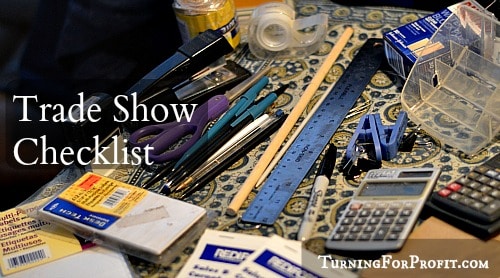
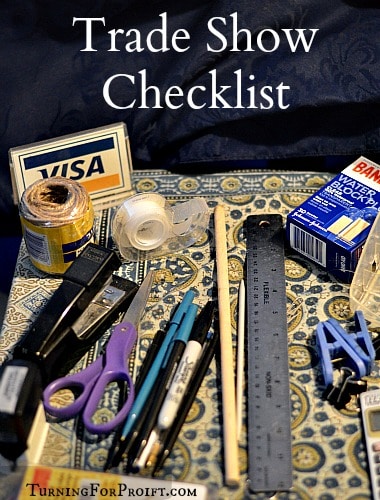
I realized that there are so many things to bring when you are at an event, trying to sell your products, or just give out information. This printable checklist will help you to remember all of the little details that make participating in a trade show so much easier.
A trade show, farmers’ market, or craft sale is a great place to sell your products. Have you remembered everything you need? How many times have you arrived at the trade show just to remember “Oh, I meant to get _________!”? In Vancouver we needed safety pins.
The checklist is divided into 5 areas.
- The Canopy is required when you are doing an outdoor show.
- Products relates to your product and how you might increase your sales.
- Product Display is how you display your products.
- Administration is more of a miscellaneous section that is required to keep things running smoothly for your business.
- Personal care is taking care of yourself so that you have a good show.
How you organize your boxes and containers is up to you but I preferred to have product kept separate from the other stuff that I need. Use large plastic totes, shoe boxes, or cardboard boxes, whatever is easiest for you. I would also label the containers with large labels that are easy to read. It is not so important where stuff is put as long as you can find it when you need it.
Print out this checklist to check off the items you have ready for your trade show. Feel free to adjust the checklist to meet your individual needs.
1. The Canopy
One summer the weather in Grand Forks, BC, was extremely variable. We had sun, wind, and rain all during the markets. Several canopies went flying as the wind suddenly picked up. Most vendors, including myself, ended up standing and holding our canopies down. Next week I brought weights!
Doing an outdoor fair or market is probably the most challenging of all market or trade show alternatives. You need to provide protection for your products, as well as to display them attractively. Then within your canopy you need to build a display system that presents your products in the best way. Whatever you use it needs to be stable and secure so that it won’t fall over on you or your customers.
My experience is in the interior of British Columbia, Canada. So wind, rain, and heat are my main issues. You will have to adapt to your area.
Sunshine
If the weather is good then no side or shade cloths are needed. If however, you are in sunlight then you may want to use your side panels to protect your product from the direct sun. I used to sell soap and creams and I had to make sure they were cool and shaded.
Wooden products should be okay but if a thin walled bowl is in full sun, it might warp or crack. This is also something to consider if you are traveling a long way away from your home. The humidity and dryness could have an impact on your work especially your higher end pieces. Your fancy bowl is more likely to be damaged from the sun than a rolling pin.
Wind
You need weights on your canopy if you are going to use your side or shade cloths. If the weather looks like rain you may use three of your side cloths. Putting 3 out of 4 side cloths up makes your canopy like a cup, it can catch in the wind and really quickly get some elevation.
To hold the canopy down you can nail it to the ground (check if this is allowed first), or you can use weights. I used milk jug containers filled with water fastened to the legs of the canopy. These could also be filled with sand as an alternative. Water is nice because you can empty the jugs before going home and at some events the water is also nice to have. In severe wind conditions rip off your side cloths otherwise you could go flying with your canopy.
Rain
It is also hard to plan for rain when it is sunny at set up time. You quickly see where the water is flowing off of your canopy, on to your product, and adjust quickly. You have to tighten your shade cloths and pull the tables in from the edge of your canopy as well. This is especially true when the sprinkler system in the park starts up in the middle of the market. Then you have no idea where the water is going to come from.
If you are dealing with more persistent rain then place sheets of plastic over your product. It keeps them dry and you can lift up the plastic if a customer wants to examine the product closer.
Safety
Each canopy is different. You want to make it secure and safe for you and your customers. Depending on the location you may be able to fasten the canopy to a fence or a wall for extra support. Be careful not to block off exit routes. If you have a couple of spare sticks this can help you reinforce a weak or damaged strut. Put your canopy up at home, before your first event to ensure that everything is working. You don’t want to find holes or a mouse nest as you are setting up.
2. Products
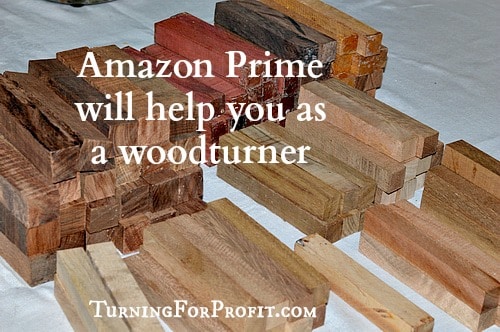
Forgetting happens to all of us. I recently saw a couple of posts from a fellow woodturner. He was working very hard to have a selection of small ring boxes ready to go for his next market day. The status on market day indicated that he had forgotten the ring boxes back in his shop. Well he gets to sell them next week. It is often your newest product that is forgotten because it is not with the rest of your product.
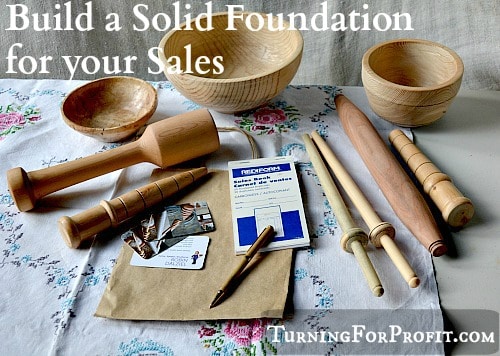
You need a good selection and a great presentation to improve your sales. Make sure your products comply with the rules of the event. These are just some suggestions to help you out.
Complementary products
If you have a selection of turned kitchen utensils then a local cookbook would be a complementary product. If you are selling honey dippers then local honey would complement them. Be creative but abide by the rules of the event.
Multiple Products
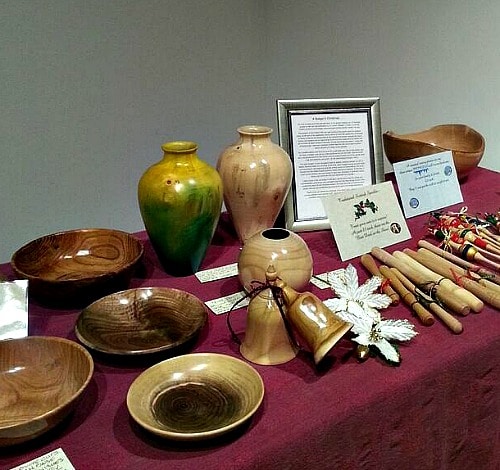
If possible try to have more than one item for sale. This is not as important for high end products. They sell on their individual merit. However, it might be quite hard to sell the last spurtle or dibbler. I found that displays with odd numbers were more attractive.
One other trick is to have strategic holes in your display. If you are showing a full rack of pens for sale a couple missing gives the impression that others have bought pens earlier in the day.
Different Price Levels
Remember to vary your prices. Having product at different price levels will meet the needs of different customers. Not everyone will be attracted to, or able to afford, your high end work. Adding wooden tops or honey dippers will give them a variety to choose from at different price points.
Different Physical Levels
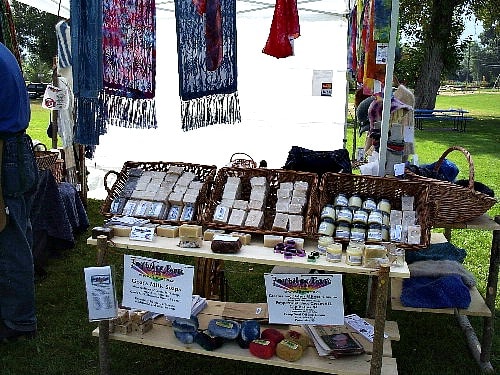
Present your product at different physical levels as well. This increases their visibility and presents a varied pattern for the customer. Shelves or covered boxes work to created different levels for presentation. A large flat table is not as attractive as a multi-level display.
Take a moment to walk out front and look at your display. Is everything the way you want it to be? Restock your product as you make sales.
3. Product Display
You determine the character of your booth and display. It is easy to want everything out on display but sometimes less is actually more. Placing your product so that it is not crowded, allows your customer to see and identify what they are looking at. Displays change and evolve over time as you consider what works and what doesn’t for you.
The items in this section assist you in selling your products
- Tables and table cloths are typical trade show equipment. Tables give you a stable surface for your display. The table cloths hide the clutter of empty containers and other paraphernalia that is shoved under the tables. The types of table cloth reflect you. Rustic, plain, fancy etc. — choose what is right for you.
- If you are selling clothing have a mirror.
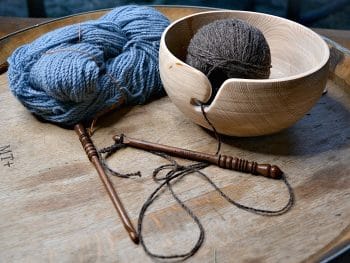
- If you are selling a ball winder, have some yarn there to show how to use it.
- If you do custom orders have a sign that says that and a brochure on how to order custom work.
- Laminated pictures of you producing your work could be displayed.
- Make sure you have bags and tissue paper for wrapping the purchases.
- If you are inside make sure you have lights for your booth and display. Lighting makes a huge difference in making sure your product is seen and not passed over.
4. Administration
Once in the middle of the summer I forgot the coinage for my pouch. I had small bills but being in Canada, I had no coins (pennies, nickels, dimes, quarters, loonies, or toonies). I was not really sure what I was going to do but I couldn’t drive back home and get the coins. I figured I’d be borrowing off of other vendors if needed.
My first sale was just under $ 20.00 and the customer paid in loonies and toonies, that is, 1 and 2 dollar coins. My next sale was just under $5.00 and this person paid in quarters. Well that took care of my coin problem. However, that was a solution I wasn’t going to rely on. The coinage made it on all the remaining trips that summer.
These items help you to serve your customers
They also help you fix or adjust your display as the day goes on.
- If you sell all of your dibblers you could make up a sign for special orders.
- Brochure and business card holders give you an easy way to present your information to your customer.
- Make it very clear what you are charging for your products. Some customers don’t want to ask how much something costs. Use small labels to put prices on your products.
- Sales books, calculator, and cash are all necessary to make and record your sales.

- I prefer an apron for handling cash. For me I was less likely to leave the apron unattended. I also moved larger bills out of the apron and into my pants pocket to reduce the amount of cash I was seen to be working with. A cash box is an option but make sure you know where it is at all times.
- If you are doing credit card sales make sure you have all of the necessary equipment to capture the sales information. Ask for personal information if you need to. Cheques and credit cards don’t always work so a phone number to connect with the customer is always handy.
- If you need to have a business license make sure it is displayed appropriately.
- If you are also developing an on-line presence you could have an e-mail sign up list to receive your newsletter.

This is the opportunity to connect with your customers. Take advantage of the opportunity.
5. Personal Care
One of my first trade shows was an outdoor event. This was a music festival. An unexpected twist happened at the start of the second day. On the first day there were a few wasps around but they weren’t troubling anyone.
The second day when the music started the wasps had had enough. Within a few minutes there were several stings near my booth. I had hand cream and the cream soothed the stings very quickly. I was able to help out both vendors and customers that had to deal with the irate wasps.
Unforeseen events will occur
- A first aid kit is helpful along with a bee sting kit.
- Bug repellant and sun screen will make the day more enjoyable for you.
- A cell phone / clock / and camera are just nice to have and useful in emergencies.
Personal comfort is important
- If you take care of yourself at a trade show you will feel better and be better able to serve your customers.
- Have a good folding chair that you like to use.
- If you are standing on a hard surface then a square or two of an anti-fatigue mat will make all the difference and your feet will thank you for it later.
- Eat and drink water on a regular basis. It is easy to become dehydrated during a long show.
- Dress in clothes that are comfortable.
- Shoes should be supportive and again comfortable.
Typically my administrative stuff grows over the market season. Every time I forget something that item gets included the next market day. This checklist should cut down on the number of missing items, for you. Feel free to drop or add items as you see fit for your circumstances.
I found that when I was prepared I usually did not need all the stuff that I brought to the market. However, on many occasions, I was able to help fellow vendors out. This makes the market more enjoyable for everyone involved.
Going to a trade show really needs a checklist because many times a trade show will be away from home and finding missing items is a real challenge.
Do you have a checklist that you use for a trade show? Have I surprised you with any of my suggestions? What have I missed? I appreciate your feedback.


Thank you, very well organized.
Keep the set up time at ur booth to a minimum of 30 minutes or less, remember what u put up u have to take down. Just make sure items u put out r ready to b displayed, and nothing will fall apart when a customer picks it up to look at it. That can and will b very embarrassing to u and the customer.
I really enjoy reading your emails, always find helpful advice. Thank you again for your time.
I will be attending my first craft fair in November. I am a genealogist and make large framable colorful family charts. I have been researching craft fairs for months now and your article was the best help for me. Of course I will have to change this around a bit as I have nothing to sell but my knowledge and researching skills, but great article, thanks for sharing your knowledge.