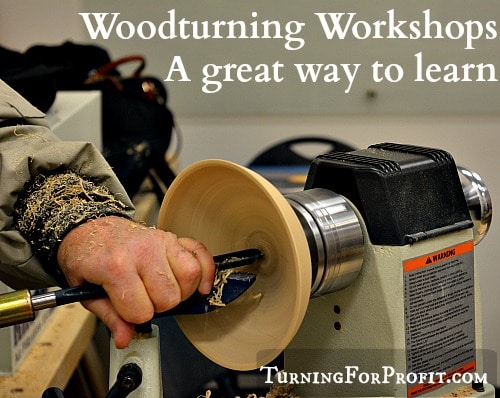
Things I learned by attending woodturning workshops.
I spent three days at Lee Valley Tools in Kelowna in October of 2016, taking woodturning workshops. I have been turning for around 20 years. The school of hard knocks was my first teacher. Then I went and read books and watched some online videos. A DVD on turning and an internet course rounded out my woodturning schooling. I could turn lots of projects but was I a good turner?
I am following Mr. Ed Pretty, from Vancouver, on Facebook, and I liked his stories and his style of woodturning. He was teaching three workshops. As Kelowna is a good distance from my farm I signed up for all three days of woodturning workshops. I enjoyed myself immensely and highly recommend that you take a few woodturning workshops as well. These are the things I learned at the first workshop which covered Skew & Spindle Gouge Techniques.
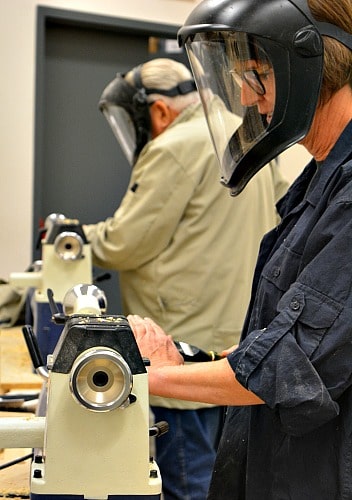
1. Everyone is at a different place
The first thing I realized is that everyone was at a different place in their turning. Not only were they different in their skill levels but they were very different in the types of turning they had done. This resulted in everyone learning and everyone also sharing their insights.
This was very different than teaching academically. It is very fluid and organic. Mr. Ed Pretty was great at accommodating and adjusting for the different levels of ability in the class. Comments and questions were always welcomed.
2. Different Perspectives
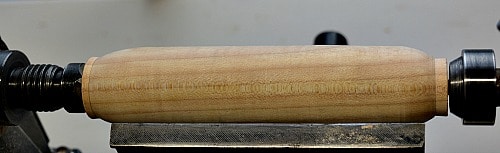
When you learn turning on your own, your focus is on the turning and the tool you are using. As this workshop was on using a spindle gouge and a skew chisel I thought that I could turn pretty good. You can see how uneven my beads are on this image. Obviously I need practice but something else wasn’t working quite right.
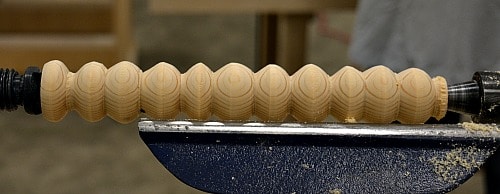
My shape was not quite right no matter how hard I focused on what the tool was doing. The instructor walked up to me and said, “Robin you are moving your wrist side to side when you turn the tool.” I can’t see my back wrist when I am turning but he could. My wrist action was moving the handle side to side so that the rotation I thought I was getting was not smooth at the tip of the tool. I needed to twist the tool on its axis to smooth out the shape of my cut. I think it would have taken me a long time to realize how my wrist movement affected my turnings on the lathe.
3. Turning uses your whole body
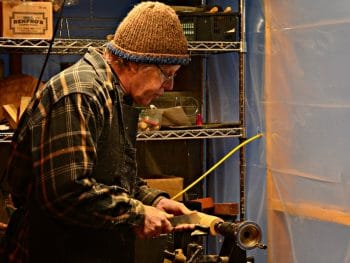
In order to turn the smooth shape of a cylinder you need to get a continuous cut from one end to the other. Moving your arms while your body stays still does not give you enough control. To do this cut, start with your weight on the foot where you are beginning the cut. As you get the cut moving smoothly transfer your weight to your other foot. If it is a long cut all of your weight will be transferred.
I’ve read about turning from the knees in different books but it made more sense when I saw Ed turn this way at the workshop. Sometimes you just need to be there in person. This is going to help me with long skew chisel cuts on rolling pins and shaping cuts on bowls and hollow vessels.
So, am I a good woodturner? On the first day Ed Pretty gave me a challenge to turn a smooth cylinder about 10” in length. Using the skew chisel and taking very fine cuts I was able to get a good smooth cylinder. Ed came, inspected my work, and had to get a caliper out to see how close I was. It was a lot more consistent than he expected. The work was very uniform. I enjoyed his surprise at how well I turned it. It was the combination of good skew technique combined with shifting my weight as I made the cut!
4. The Skew Chisel is your Friend
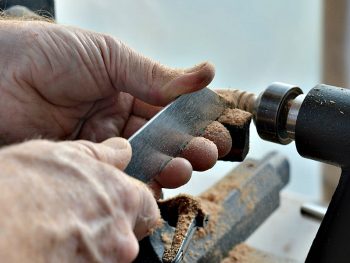
Several participants took this course specifically because they were struggling with using the skew chisel. It is a great tool for smoothing your spindle work. It just needs to be brought to the work carefully and used so that you have a controlled cut on your turning.
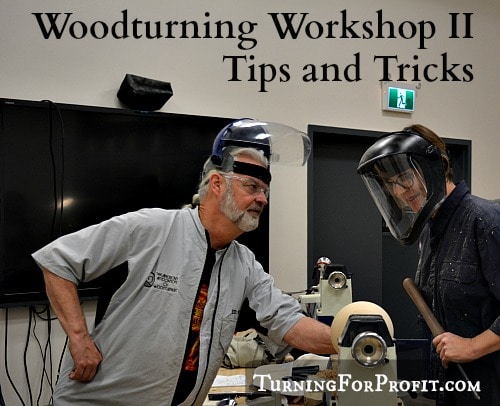
The first tool we used was the roughing gouge. That huge heavy chisel that helps get your turning projects from rough, or square, to round. Ed pointed out that the wings of the roughing gouge were shaped the same way as a skew chisel. They are straight with a bevel. You can see that on the image below where Ed is sharpening a roughing gouge.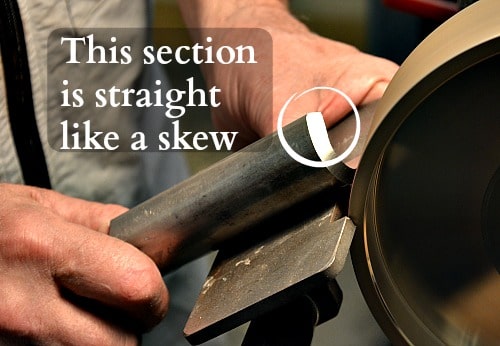
He got the students to practice roughing out all along the edge of the roughing gouge including up on the wings. The position and movement with the roughing gouge were then repeated with the skew chisel. That made the process much easier.
Ed indicated that the proper name should be “Spindle Roughing Gouge” because the shape of the gouge and the grind that is placed on it is not suited for bowl turning. I think all of the books that I’ve read (and that’s been quite a few) all say the same thing. Bowl gouges are for bowls, roughing gouges are for spindles.
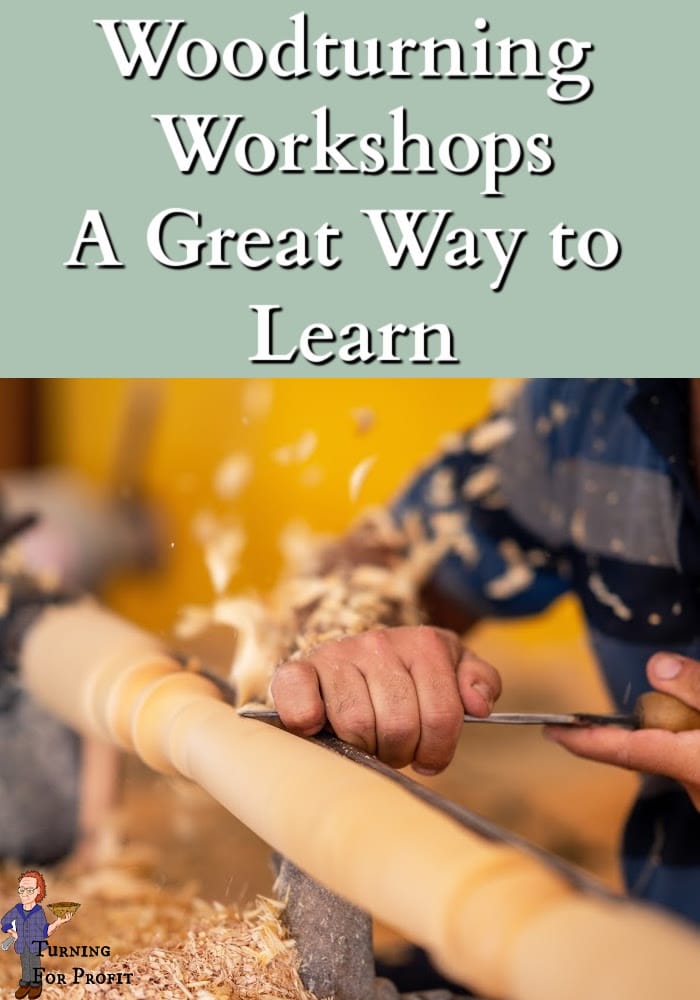
Woodturning Workshops
While I’ve done a lot of spindle turning, the tips and encouragement from the day, were a great boost. The practice method for the day was to do the same cut repeatedly with the result that you ended up with a very thin spindle when all was said and done. (I didn’t understand what Ed wanted me to do when I did the whole beads above!) However, even with nothing to show for my efforts it was a very worthwhile exercise in improving my spindle and skew turning skills.

Ed Pretty is a wood artist (turner) living on the lower mainland of BC. He was very encouraging to all of the students and very patient even when asked similar questions each and every day. It was very nice to be challenged and encouraged at the same time. Ed teaches woodturning workshops in Vancouver, BC, and now also in Kelowna!
These woodturning workshops were great. The next day was on turning a hollow form without specialized tools. The last day was on turning a bowl from green wood. If you like these posts then please sign up for my newsletter. I’ll let you know when there are new posts on my website every week. I love turning and sharing with you. You can follow me on Facebook as well.
Thanks for reading and remember to turn safely.


[…] is my second woodturning workshop. My first woodturning workshop is described here: Woodturning Workshops I – A great way to learn. I spent three days at Lee Valley Tools in Kelowna in October of 2016, taking woodturning […]