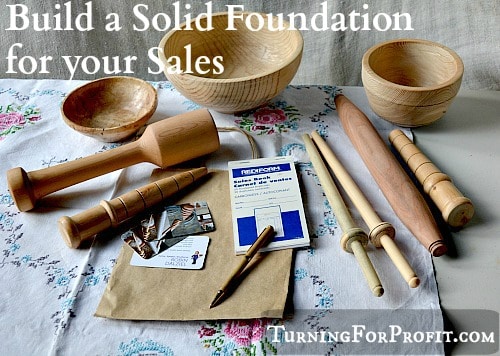
Promotion of you and your work
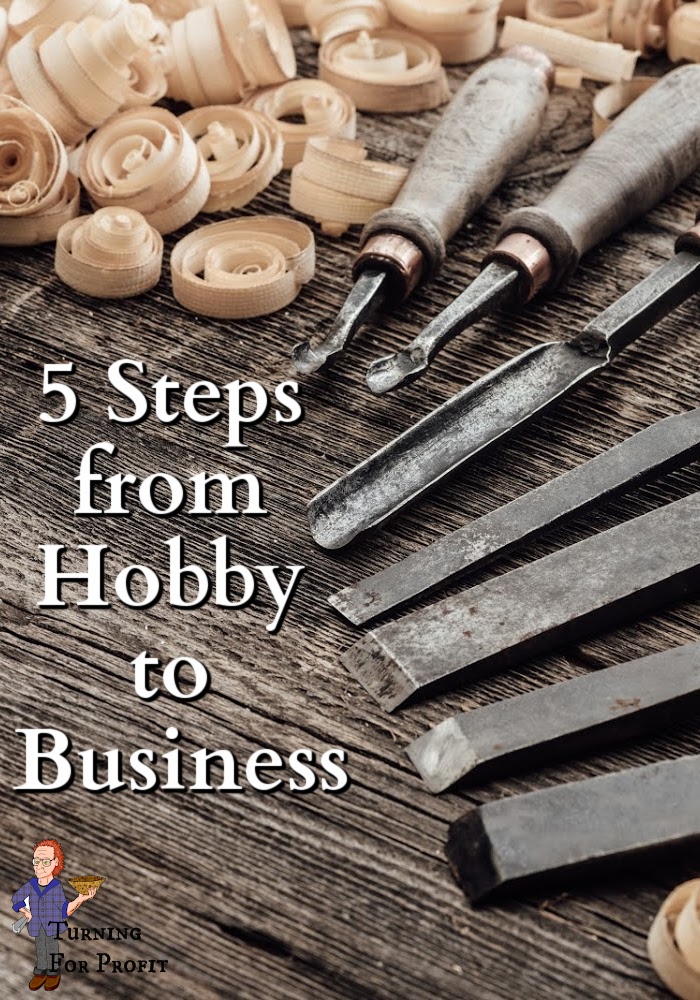
These five steps will help you move your hobby to a business, in a way that will allow you to continue enjoying your hobby and earn some money as well.
Promotion of you and your work
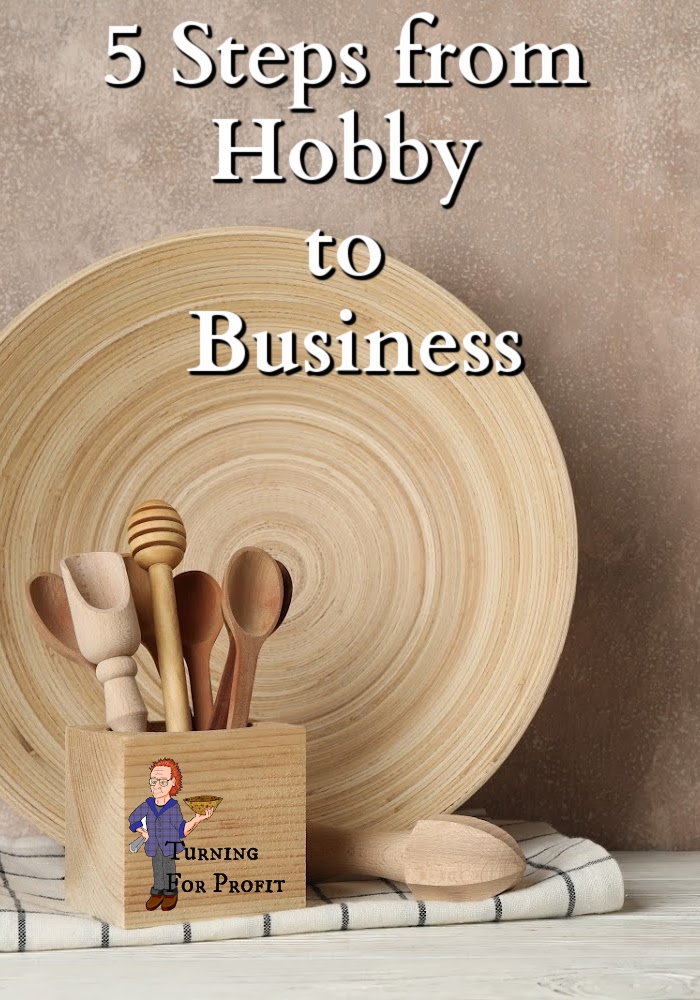
These five steps will help you move your hobby to a business, in a way that will allow you to continue enjoying your hobby and earn some money as well.
Step #1 – Your Attitude

It’s all about you. You are your hobby and you are your business. How you see yourself is how others will see you too. So Step #1 starts with you and your attitude. Make the decision that you are in business. Seriously that is all it takes to start. Being in business means that you will focus your attention on making a business out of your hobby. It will change how you approach your turning time and how you organize the other activities that will support your work. Your mental attitude could be the biggest asset that you have in making a success out of this challenge.
Step #2 – Your Workshop
The workshop is the production centre of your business. Rather than searching high and low for the last place that skew chisel went, you need to be organized. Organize to be efficient in your turning. You will actually get more turning done once you are organized.

You need a clean and orderly working area. How you arrange your equipment is completely up to you but do consider the order you use the tools. Which tools prepare the wood before turning, what needs to be done once the turning is completed? Wide aisles allow you to move freely and quickly around your shop and helps prevent dulling a gouge when it hits the table saw.
Equipment maintenance
Prepare a schedule for the regular maintenance of your woodworking equipment. We’re not talking major overhauls here, but a general cleanup of dust and grime to keep them in good operating condition. It is very frustrating when your equipment isn’t operating efficiently. You need to be able to make fine adjustments to height or angle and know that once the adjustment is made that it will stay where you want it.
How do you handle in-coming wood? You want to store it conveniently so that it stays dry and available. As you consider different projects, do you know where the wood is that you want to use? If you need to treat the wood to prevent splitting or cracking keep the paint or other solutions near your wood storage so that all wood is prepared properly. Storage for small pieces and off cuts should be accessible as well. In my shop, it isn’t knowing exactly where that piece of oak is, but in knowing that it is in this area rather than the entire shop!
Projects that utilize kits, such as pens or key chains, should be kept in plastic see through containers. You might want to label the container with the drill sizes, other requirements, and templates for each project. I love cashews and the empty containers are see through, stackable, and a good size.

Keeping your turning tools accessible to your lathe, comes with the territory as a turner. Keep the tools needed for your accessories, with the accessories. Do you really need encouragement on this one? If yes then get a bench, wall rack, table or something to keep your tools in order. It’s a lot more fun turning when it is easy to grab the gouge or scraper that you need.
Finishing the projects usually requires a quieter area without the dust flying all over the place. With the cooler weather of fall, I have had to move the finishing into the house. It is too cold in the shop. Work at achieving the finish that you would enjoy on your projects. Remember to dispose of rags and tins in a safe manner.
The goal here is to make your workshop a fun and safe environment to turn wood in. Take your time and make it yours.
Step #3 – Your Desk
Okay you don’t have to have a desk but you do need to organize the business side. You can make this as simple or as complex as you are comfortable with. Simple is more likely to happen than complex. Trust me I know.
Marketing
An artist statement will help you focus on what you like to do as a turner and how to present that information to the public. It’s okay to change it as you progress through your business. At the same time, produce business cards and brochures. These can be done at home or through on-line services such as Vista Print. Start small since you will be modifying these as you go along. You will need a good digital camera for product shots. What is a good camera? One that gives you enough resolution so that your product looks good on a brochure or a web site. If the resolution is grainy then the image or picture will look pixelated when published.

Records
Use a book, spreadsheet, or accounting software, but keep track of all your income and expenses. You need to do this for tax purposes but also for your own information as your business grows. How will you evaluate a project unless you track the expenses and revenues? Pricing your products is crucial to your business success. Use sales books to record sales. The duplicate kind allow you to have a copy for both you and the customer. Track your product that you have placed at galleries and other businesses. It helps you to see what you have produced and which items are selling.
Government
Each region or country will have different regulations so you’ll have to do some research here on your own. You might need a business license especially if people are visiting your studio. Your home insurance might not cover you for business related expenditures or attendance at the local farmer’s market, so read your coverage carefully. Your local chamber of commerce might have group insurance plans that you can participate in at a lower rate than if you try it on your own.
Step #4 – Promotional Opportunities
If nobody knows that you are in business and are willing to sell your turnings, then you’re not going to sell anything! It is so much fun to make the shavings fly and get the beauty to appear in the wood but a business needs to sell in order to stay in business. Start with local opportunities that are close to home.
Studio
You can sell from your own studio. You might be able to get space in a relative’s studio or store. If your cousin is a potter maybe some of your turnings could be sold in her studio as well.
Farmer’s Market
Here you have to go to the market, set up a booth, and stay and sell your product. It takes time and it is time away from your lathe. Again relatives or friends may be willing to sell your products for you.
Christmas Fairs
Similar to a farmer’s market but oriented towards people who are buying gifts. You want to consider the costs of entering the fair and the atmosphere of the event as well. Consider the products you are producing and whether they would be a good fit for the fair or not. Here’s a post discussing what to do at a fair.
Artisan Markets/Stores
These usually cost more and may require your presence to assist in keeping the costs down. Again consider the match between your work and the venue. Don’t put your work into circumstances where it won’t be appreciated. This will under value your work and lead to lots of frustrations for you.
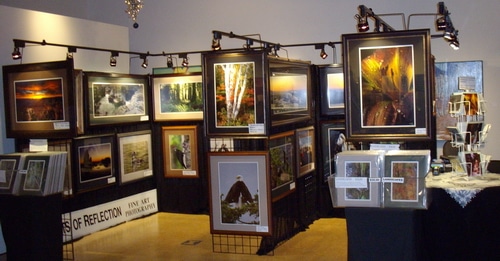
Galleries and Gift Shops
These can be great locations but usually they have higher costs. That is, they will require a higher percentage of your selling price as commission.
Selling your products is a very challenging proposition. Consider the implications of each choice carefully and select those that you think will work best for you. Don’t let someone else tell you how to sell your products, especially if they are collecting a commission on the sale.
Step #5 – Keep on Turning!
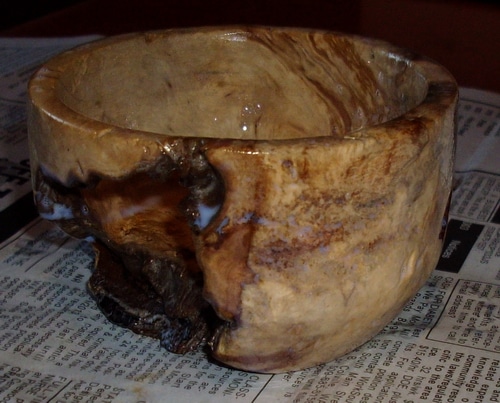
I don’t think this step needs any elaboration. Without Step #5 the first steps are useless!
I’m not trying to tell you how to set up your shop or how to be organized for business but doing these steps will increase your efficiency in your business and hopefully be more productive as a wood turner. Have I missed anything? Let me know.
Each day I share a wood turning project, tip, or inspiration, on my facebook page. Join me there and get the turning project of the day, delivered to your Facebook homepage.